No.121 Not all plain sailing – Dapol’s Class 22s
I have given in to temptation and purchased one of Dapol’s Class 22 green diesels.
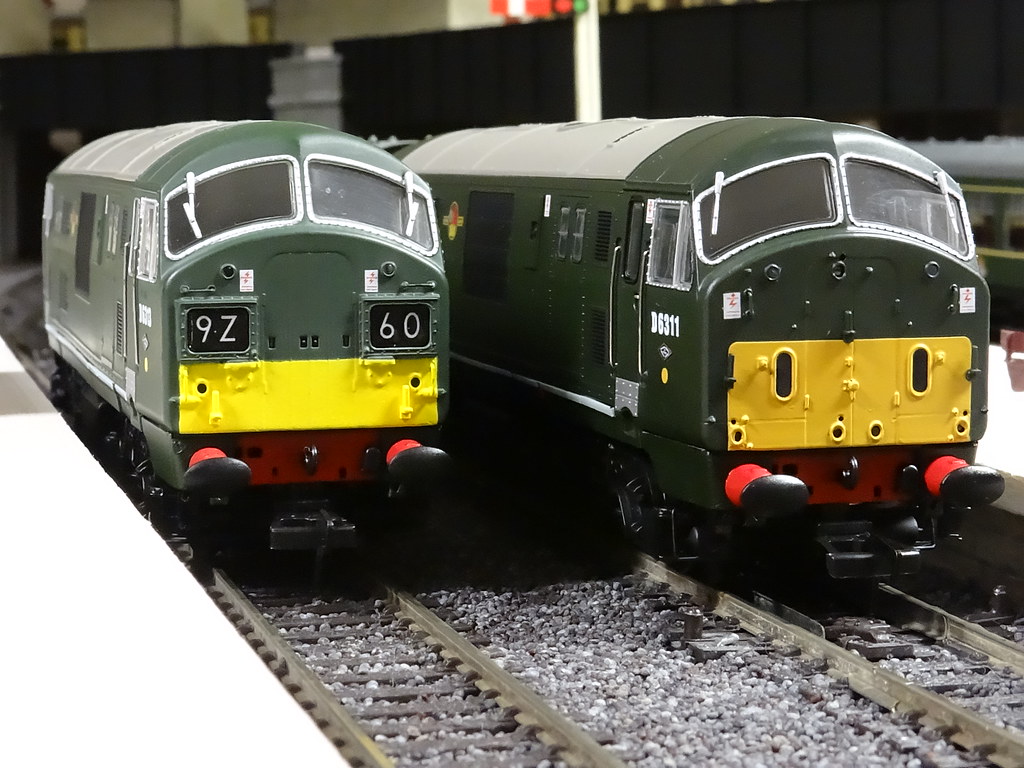
(Left) D6313 (Head Code Boxes) back from hospital (Right)
D6311 (Discs) fresh from its bath!
In fact I have bought two Class 22s, one with Discs and one
with split Head Code Boxes.
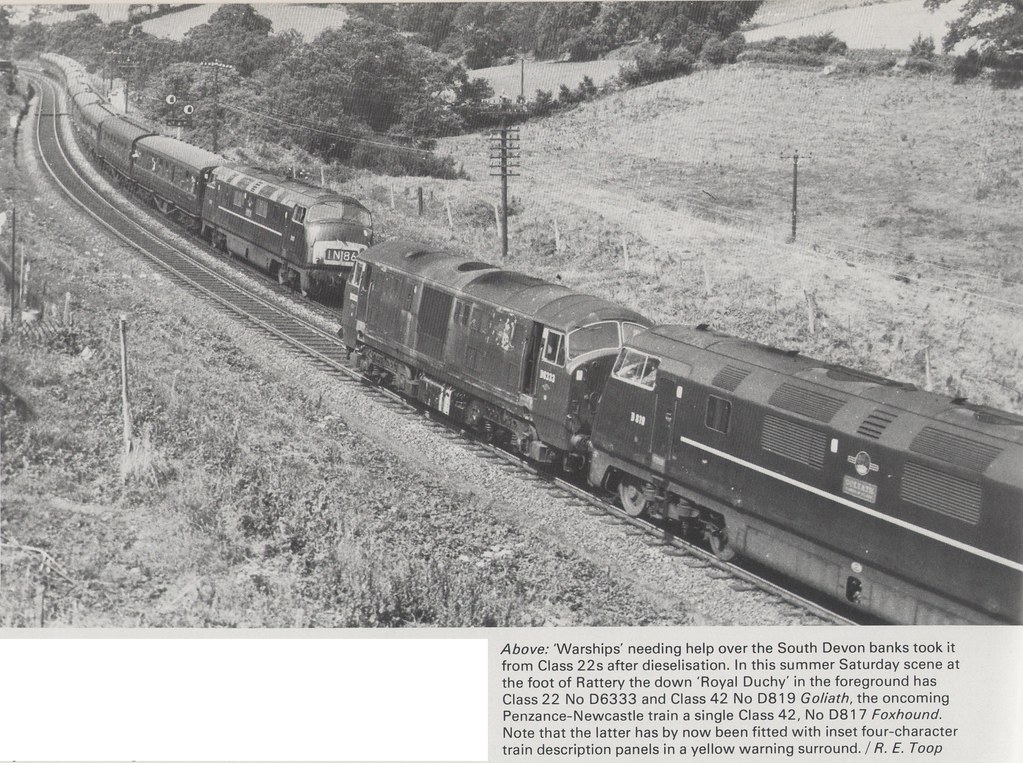
Green Diesels from “The Western Since 1948” (G Freeman
Allen 1979)
I never saw the prototype but there is a picture of a Class
22 with an early form of air conditioning in the company of a couple of
Warships in one of my favourite reference books for things ‘Western’.
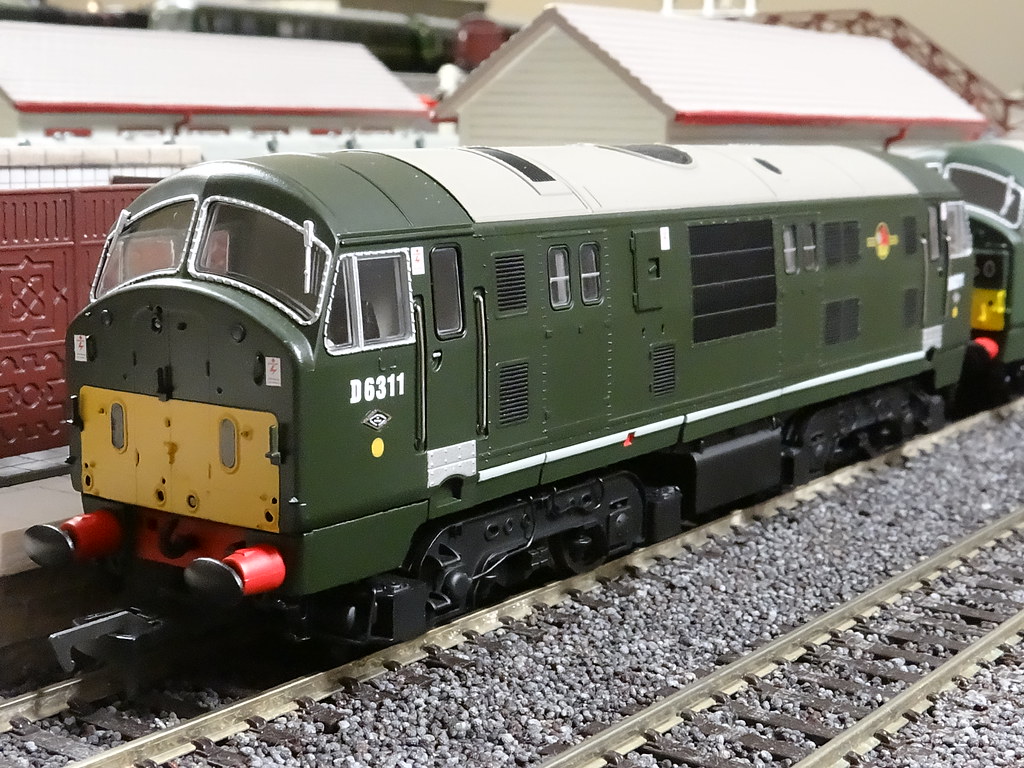
D6311 with Headcode Discs
D6311 was purchased new from one of those well known
retailers. It was very noisy and jerky. I was advised to apply some oil to the
gearing - or if I was not happy the engine could be returned.
The replacement model had been tested and was a little
quieter. I still thought it was an uneven runner. The latest models have a
small hole in the keeper plate on the underside of the bogie to aid
lubrication. Do NOT be tempted to squirt oil into the bogie as I did! It was
late in the evening and I don’t know what possessed me - but there was oil
everywhere. I ended up separating the bodyshell and chassis. The body shell was
given a thorough soaking in lukewarm solution of Fairy Liquid before rinsing in
clean water. The chassis too was submerged in soap solution and again
thoroughly rinsed before being placed on top of the Aga to dry out for some 24
hours or more. Dapol are to be commended for the quality of the finish on the
bodyshell as there was no loss of detail or damage to the paintwork or
transfers from this ‘extreme’ treatment. As a bonus I think the engine now runs
a little sweeter!
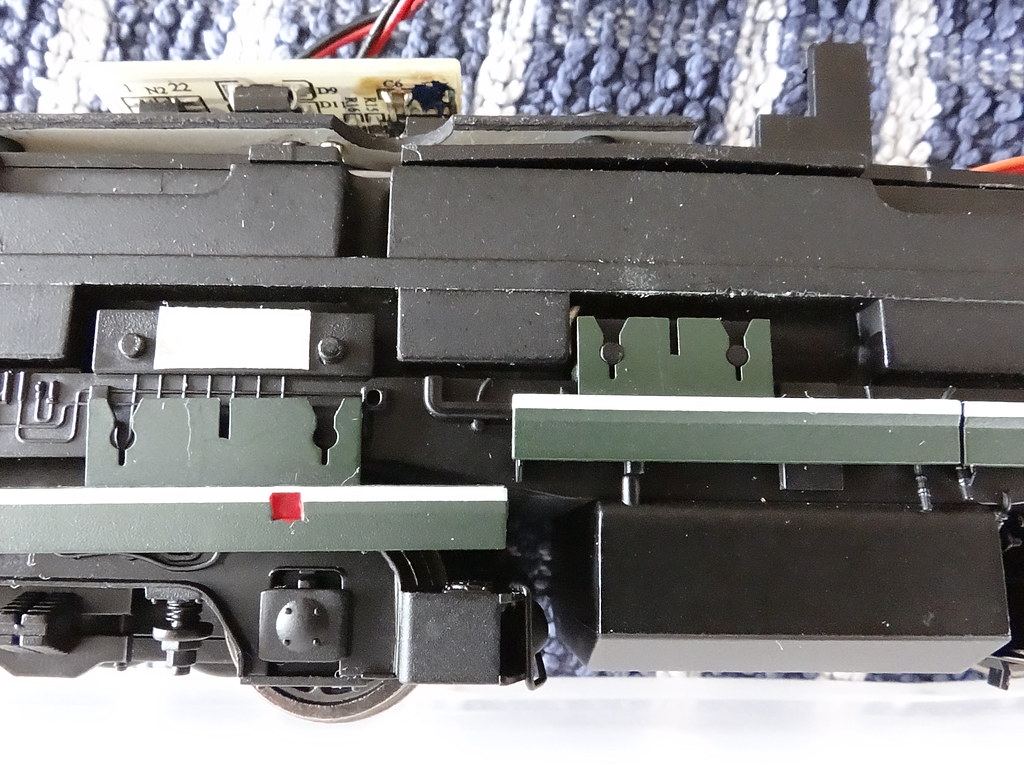
Fixing the Skirts with double sided tape
I am less impressed by Dapol’s removable skirts. I have
studied dozens of pictures of Class 22 diesels and have only seen two where the
skirt panels have been removed. One image was where the engine was being broken
up and the other image was where the engine had been condemned and was awaiting
scrapping. So why make the skirt in little bits which are both fiddly to attach
and in my case warped and wavy? In the short term I have used double sided tape
to fix the pieces to the chassis. In the longer term I may well go
down
the ‘Captain Kernow’ route and fix the individual bits to a thin strip of
plastic which can then be permanently glued to the bodyshell. On my models
there seem to be particular difficulties to attaching the end plates (numbers
one and five). I partly resolved this by carefully opening out the fixing
holes. I inserted and rotated a sharp craft knife to clean excess plastic and
paint from around the fixing hole.
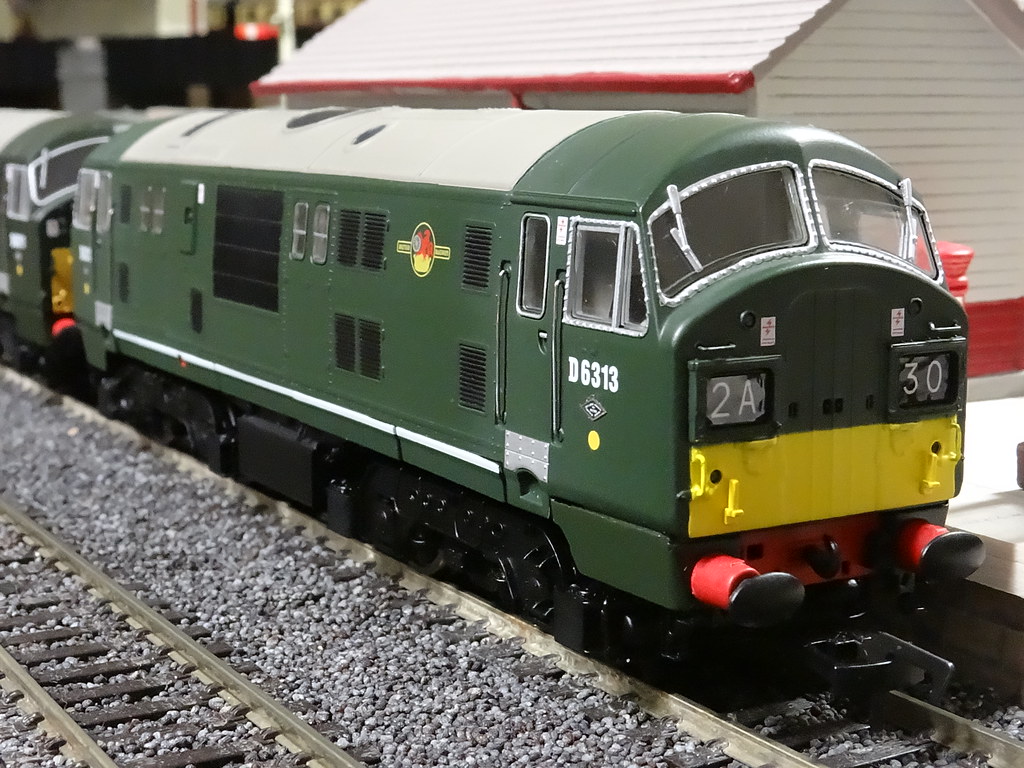
D6313 with Split Headcode Boxes
My second model, D6313 with split headcode boxes was
preowned and reimported from Holland. It had not been ‘played with’ which might
be why ‘no one’ had noticed that the lighting did not work. A little knowledge
is dangerous and the consensus on RMweb is that the blanking plate would
be faulty.
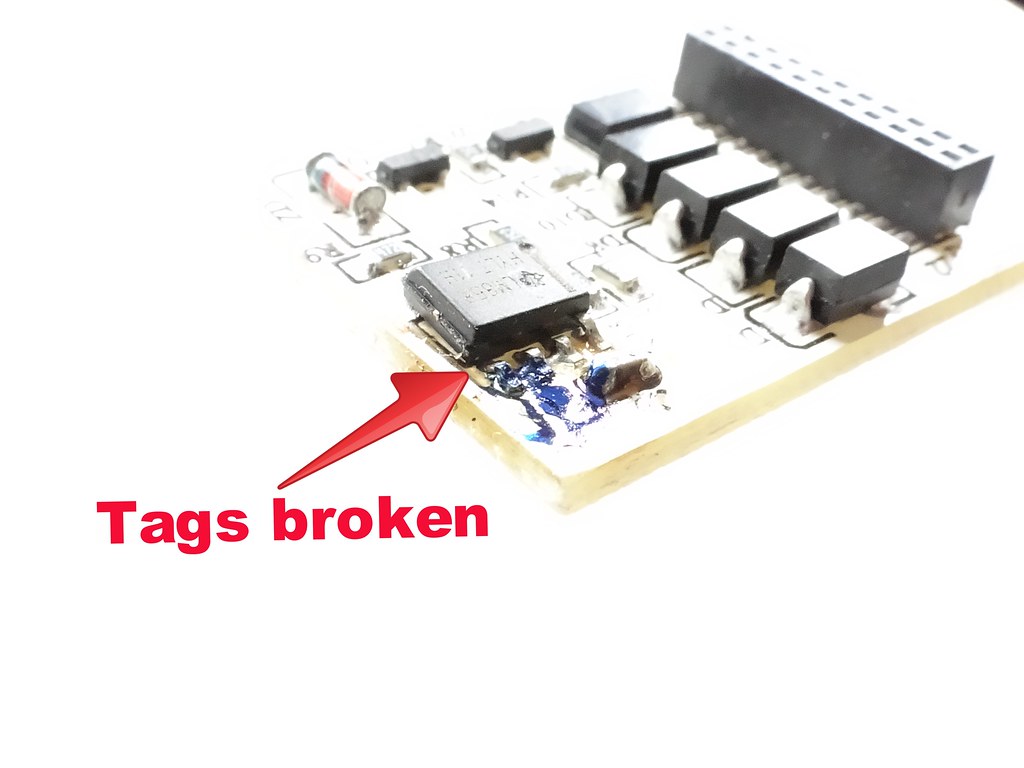
Faulty blanking plate – early model
Certainly the solder tags for one of the components had been
cut through – compared to the latest working plate shown below.
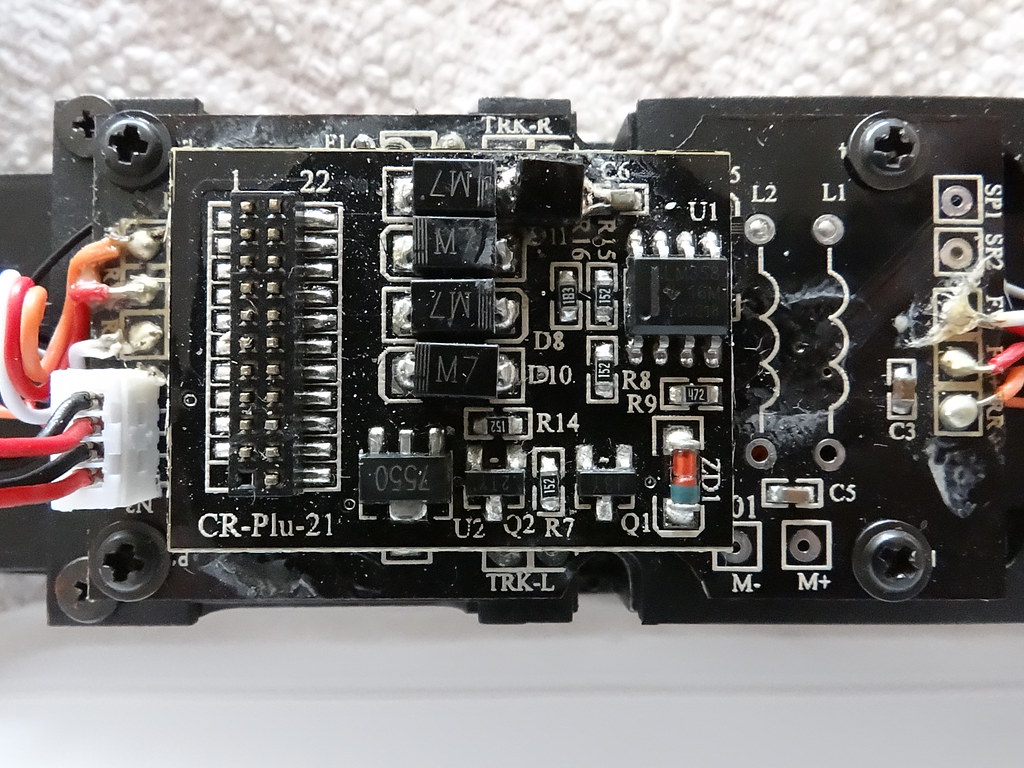
Working blanking plate – latest model
A replacement ‘early’ blanking plate was purchased from DCC
Supplies which on arrival displayed the same ‘cut through’ tags – and which
still did not bring the lights back on. DCC Supplies advised that I send them
the complete engine for repair. As encouragement I was provided with a prepaid
address label. D6313 has been to and come back from DCC Supplies and now has
working lights. Thank you DCC Supplies, who are to be commended for their
speedy service and for providing a replacement under warranty.
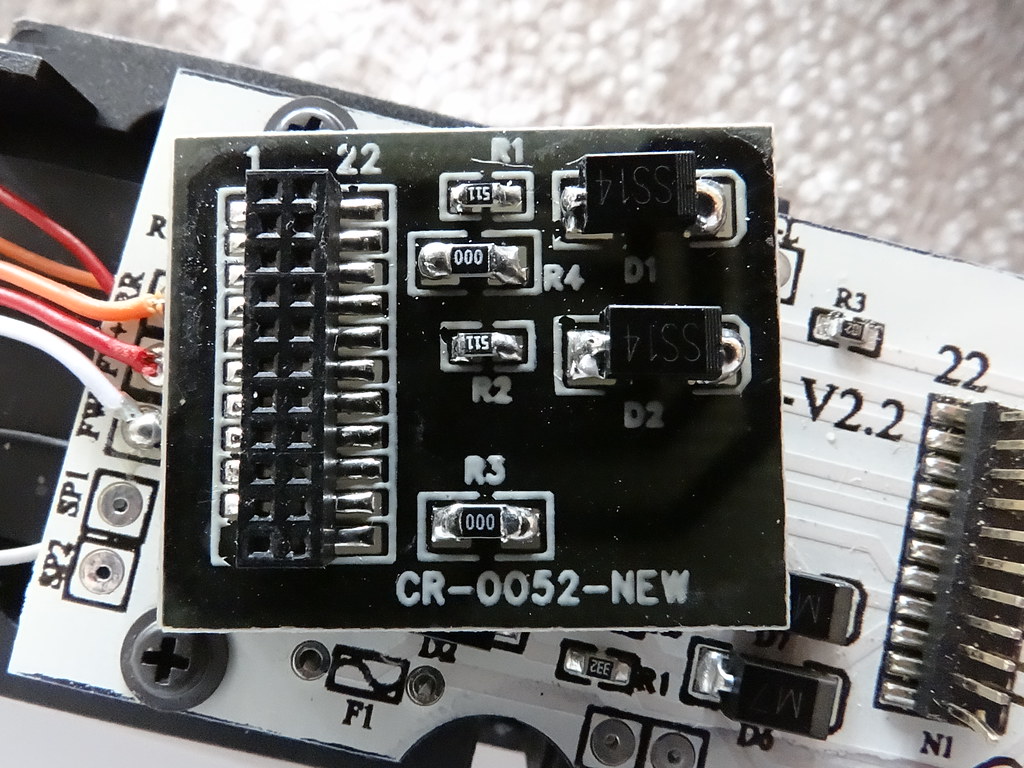
The second replacement blanking plate
This time the ‘working’ blanking plate is completely
different from both of the originals and the latest model. It still has to be
inserted ‘upside down’ in contrast to the latest model where the plate sits
with the components facing upwards. I have tried to ascertain from DCC Supplies
what was wrong and whether the ‘cut through’ solder tags were part of the
problem – so far without a response.
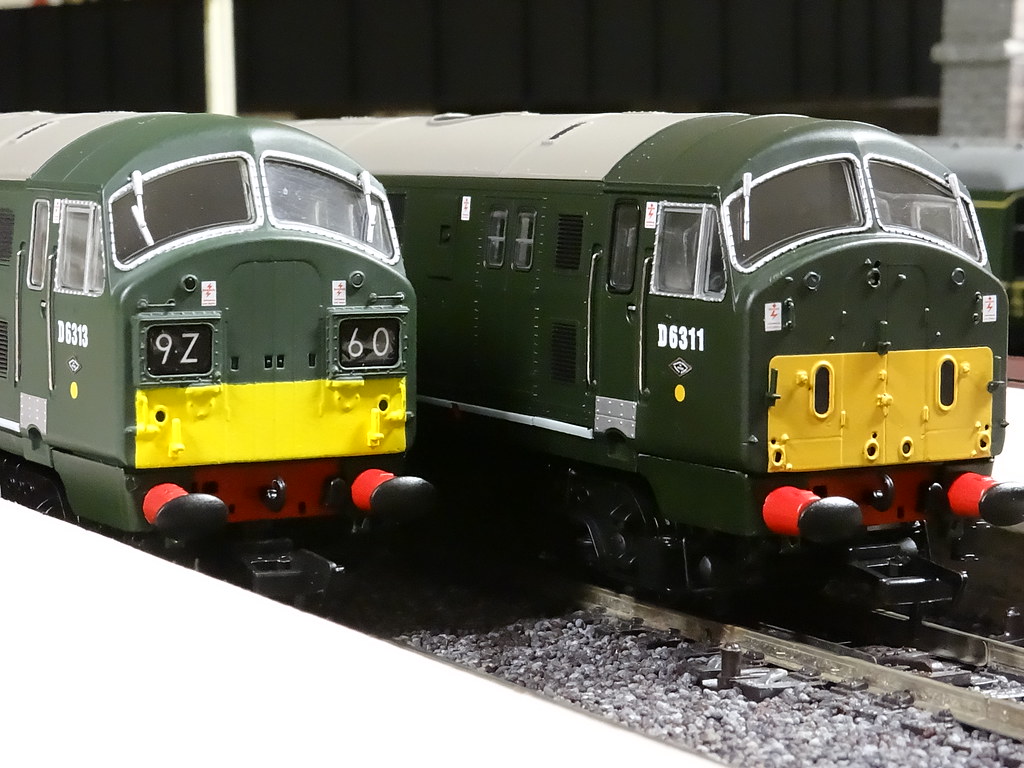
Contrasting Head Codes
I think D6313 is nearly very good. The detail on the
bodyshell is excellent. I am not so convinced about the Dapol Head Code numbers
which as supplied are in my opinion too ‘see through’. I have used the approach suggested by ‘Neal’ and fitted the nice glossy Dapol numbers to
a piece of white self adhesive label which I then attached to the front of the
Head Code Box. It works well for me and I think is an improvement. For some
people the extra thickness of the white paper might make the resulting light
rather dim, however the white numbers do now stand out.
What do I think of the Dapol 22s? Well it seems to have
taken me not a little time to get the models up and running. I think they are
suitably detailed and look the part. However I do think they sound rather
clockwork, and in my opinion they lack the smooth gliding motion of my Heljan
35s.


Comments