No. 163 Hornby’s new A2/2 and A2/3
Coming from the North East of England I couldn’t let these new Hornby models pass me by. Thane of Fife had already disappeared from my 1960 ABC books and I never got to see Cock o’ the North. There is a big red line through the number in my book, confirming its imminent withdrawal. I did see the two A2/3s, Steady Aim being a York engine whilst around the beginning of the sixties Sun Castle was based at New England and then Doncaster.


Steady Aim after some adjustment to the speedometer bracket
I hadn’t pre-ordered any of these Hornby models and was initially only interested in the two Late Crest engines. The two Early Emblem engines were bought as an afterthought with some surprise earnings.
All the models I have handled have run very well. With some notable exceptions the models are also very impressive. This Post summarises various issues (and fixes) that I have come across with these models.
I had to hunt around for Thane of Fife, my first purchase. The seller, I will spare his name, had opened the box and checked the engine but it still arrived with its front lamp iron loose in the box along with another piece of plastic which I eventually identified as a handle from the front of the tender. (There should have been two but one was completely missing.) However the most serious problem in my eyes was the gap between the firebox and cab, the latter being attached at a rather jaunty angle. The model was returned.
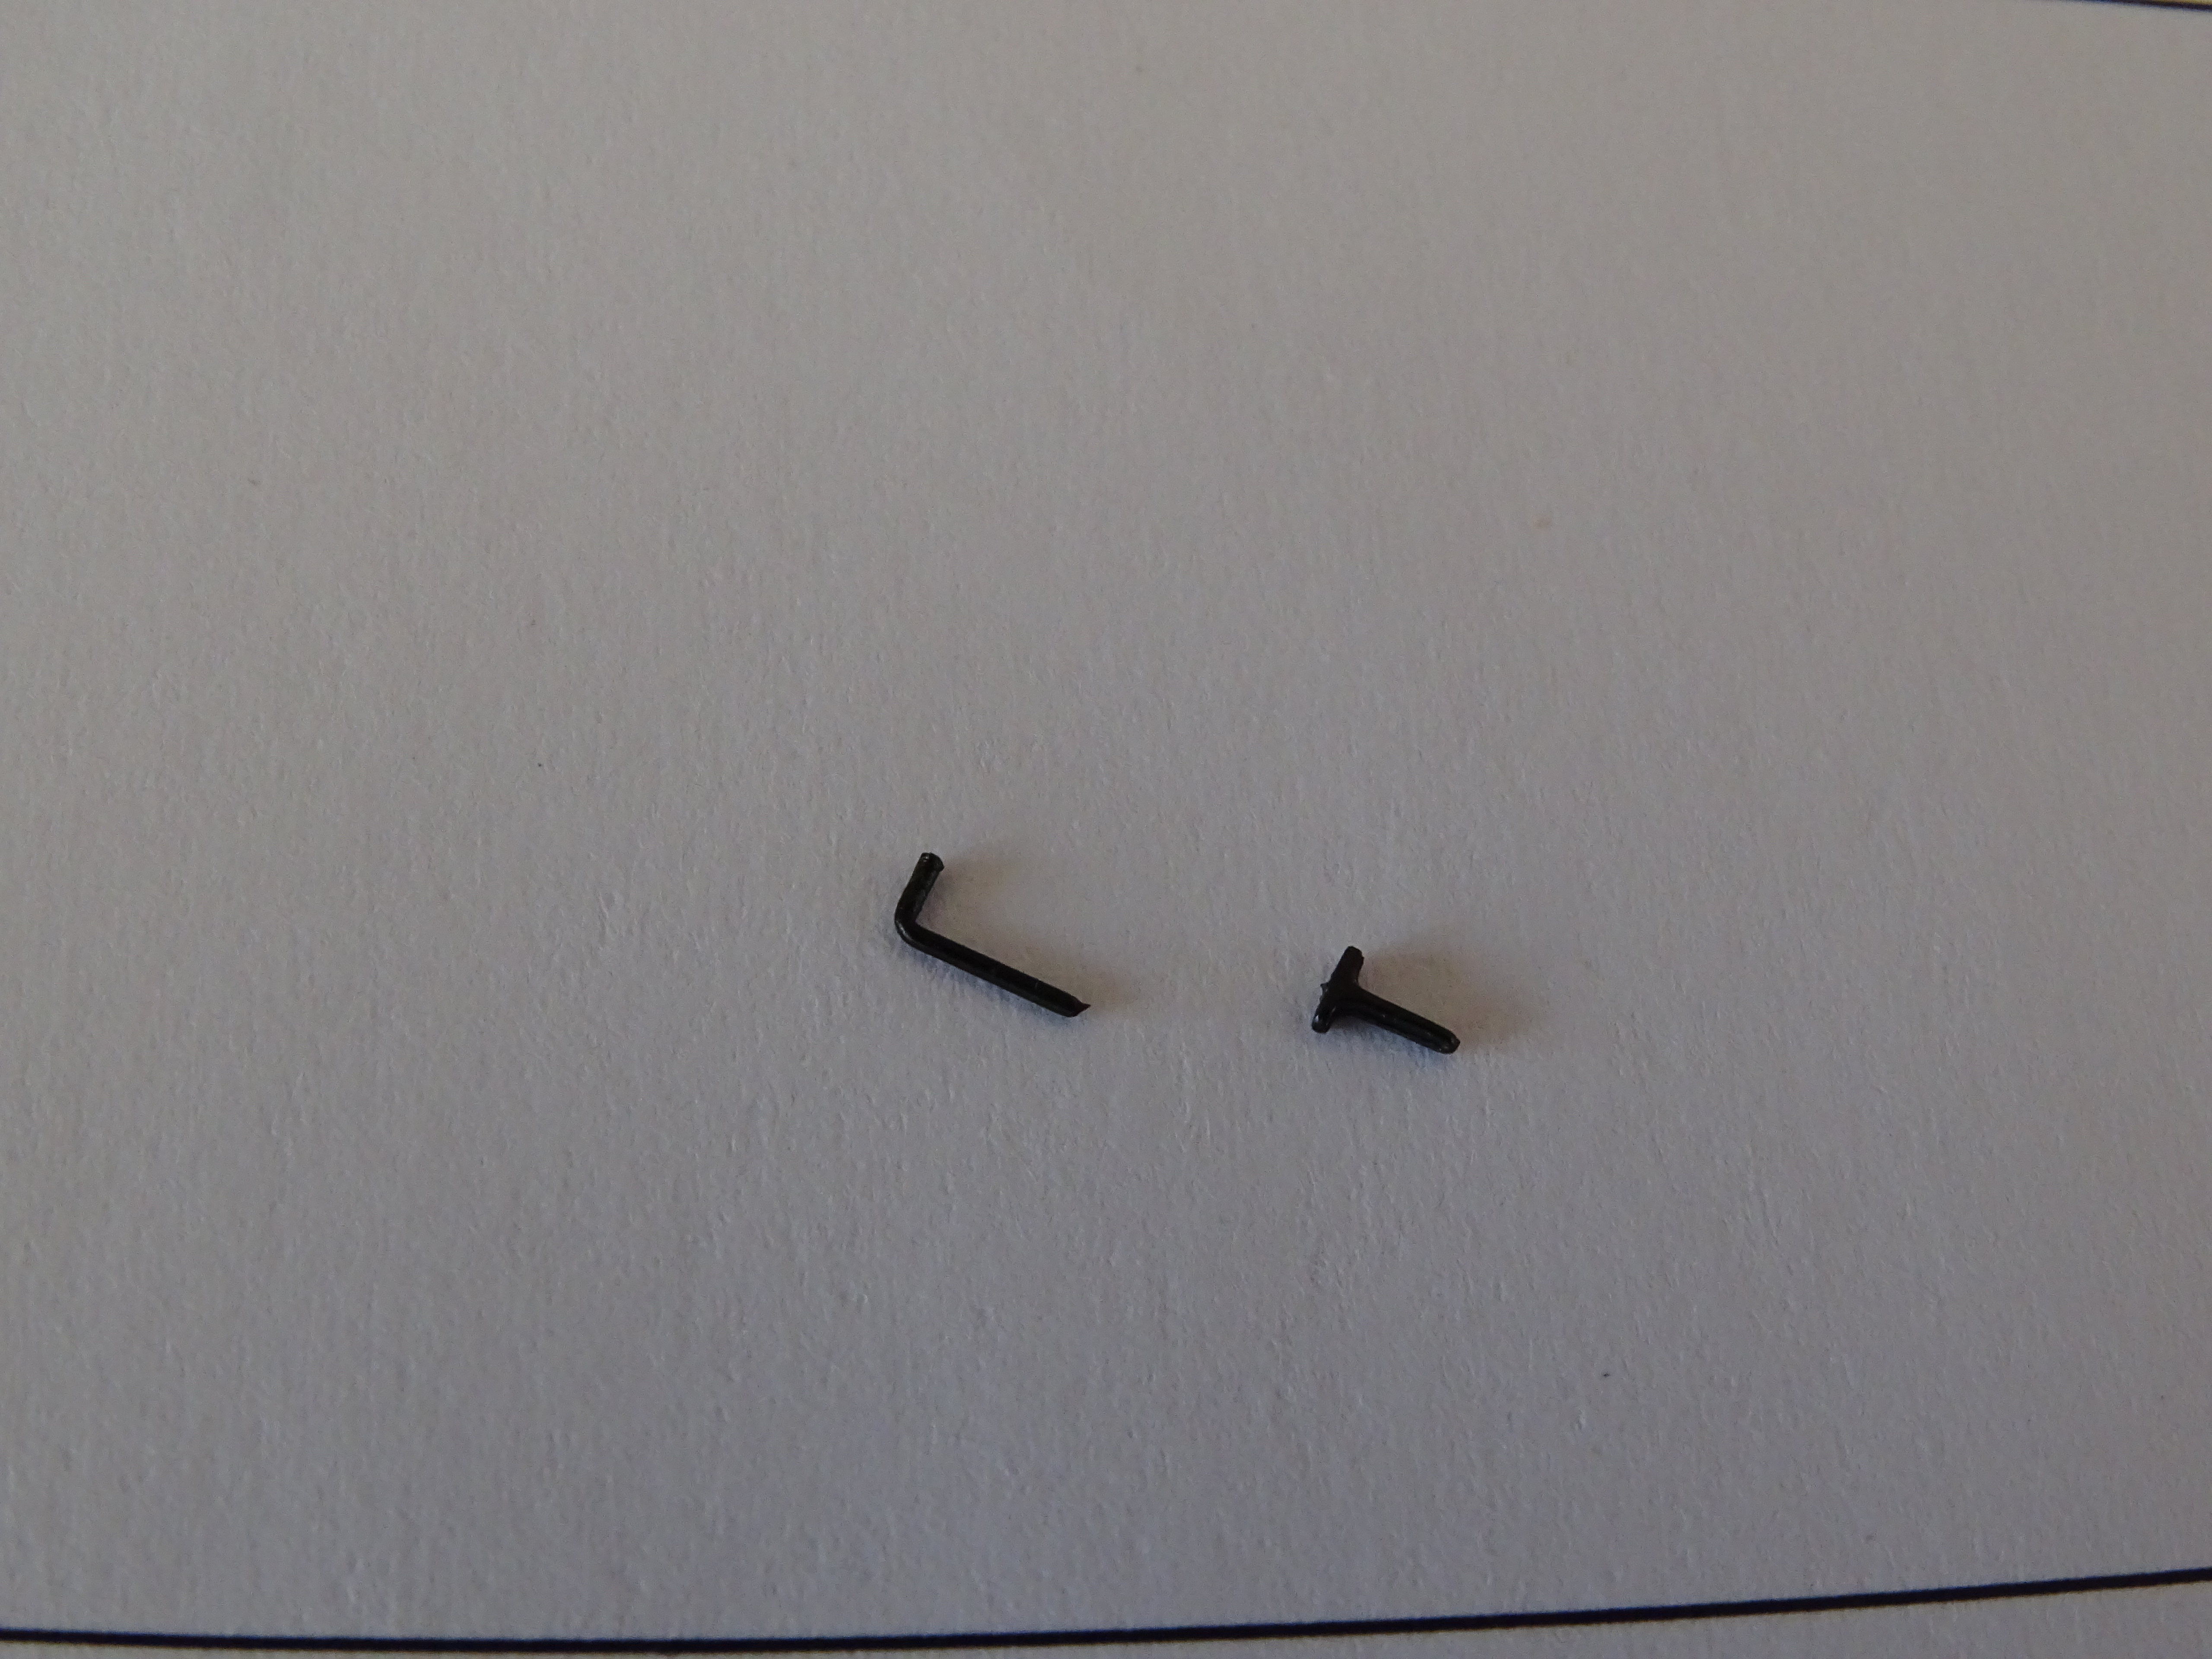
Bits in the box –now which way round does the lamp iron go?

Cab and firebox misaligned – model returned
Then there is what I will refer to as the elephant in the room, the shade of green and the red lining – why? A difficult choice – do you use a coat of satin varnish to improve the green or will that also darken the red lining?

Bachmann lined green compared to Hornby lined green
Sun Castle was the second model to arrive from Hornby and this was received in better fettle than my first Thane of Fife which was replaced with a much better model from the same shipment as Sun Castle. One or both of these models needed the tender water scoop turning through 180 degrees, not a difficult job as they were poorly attached (if at all).
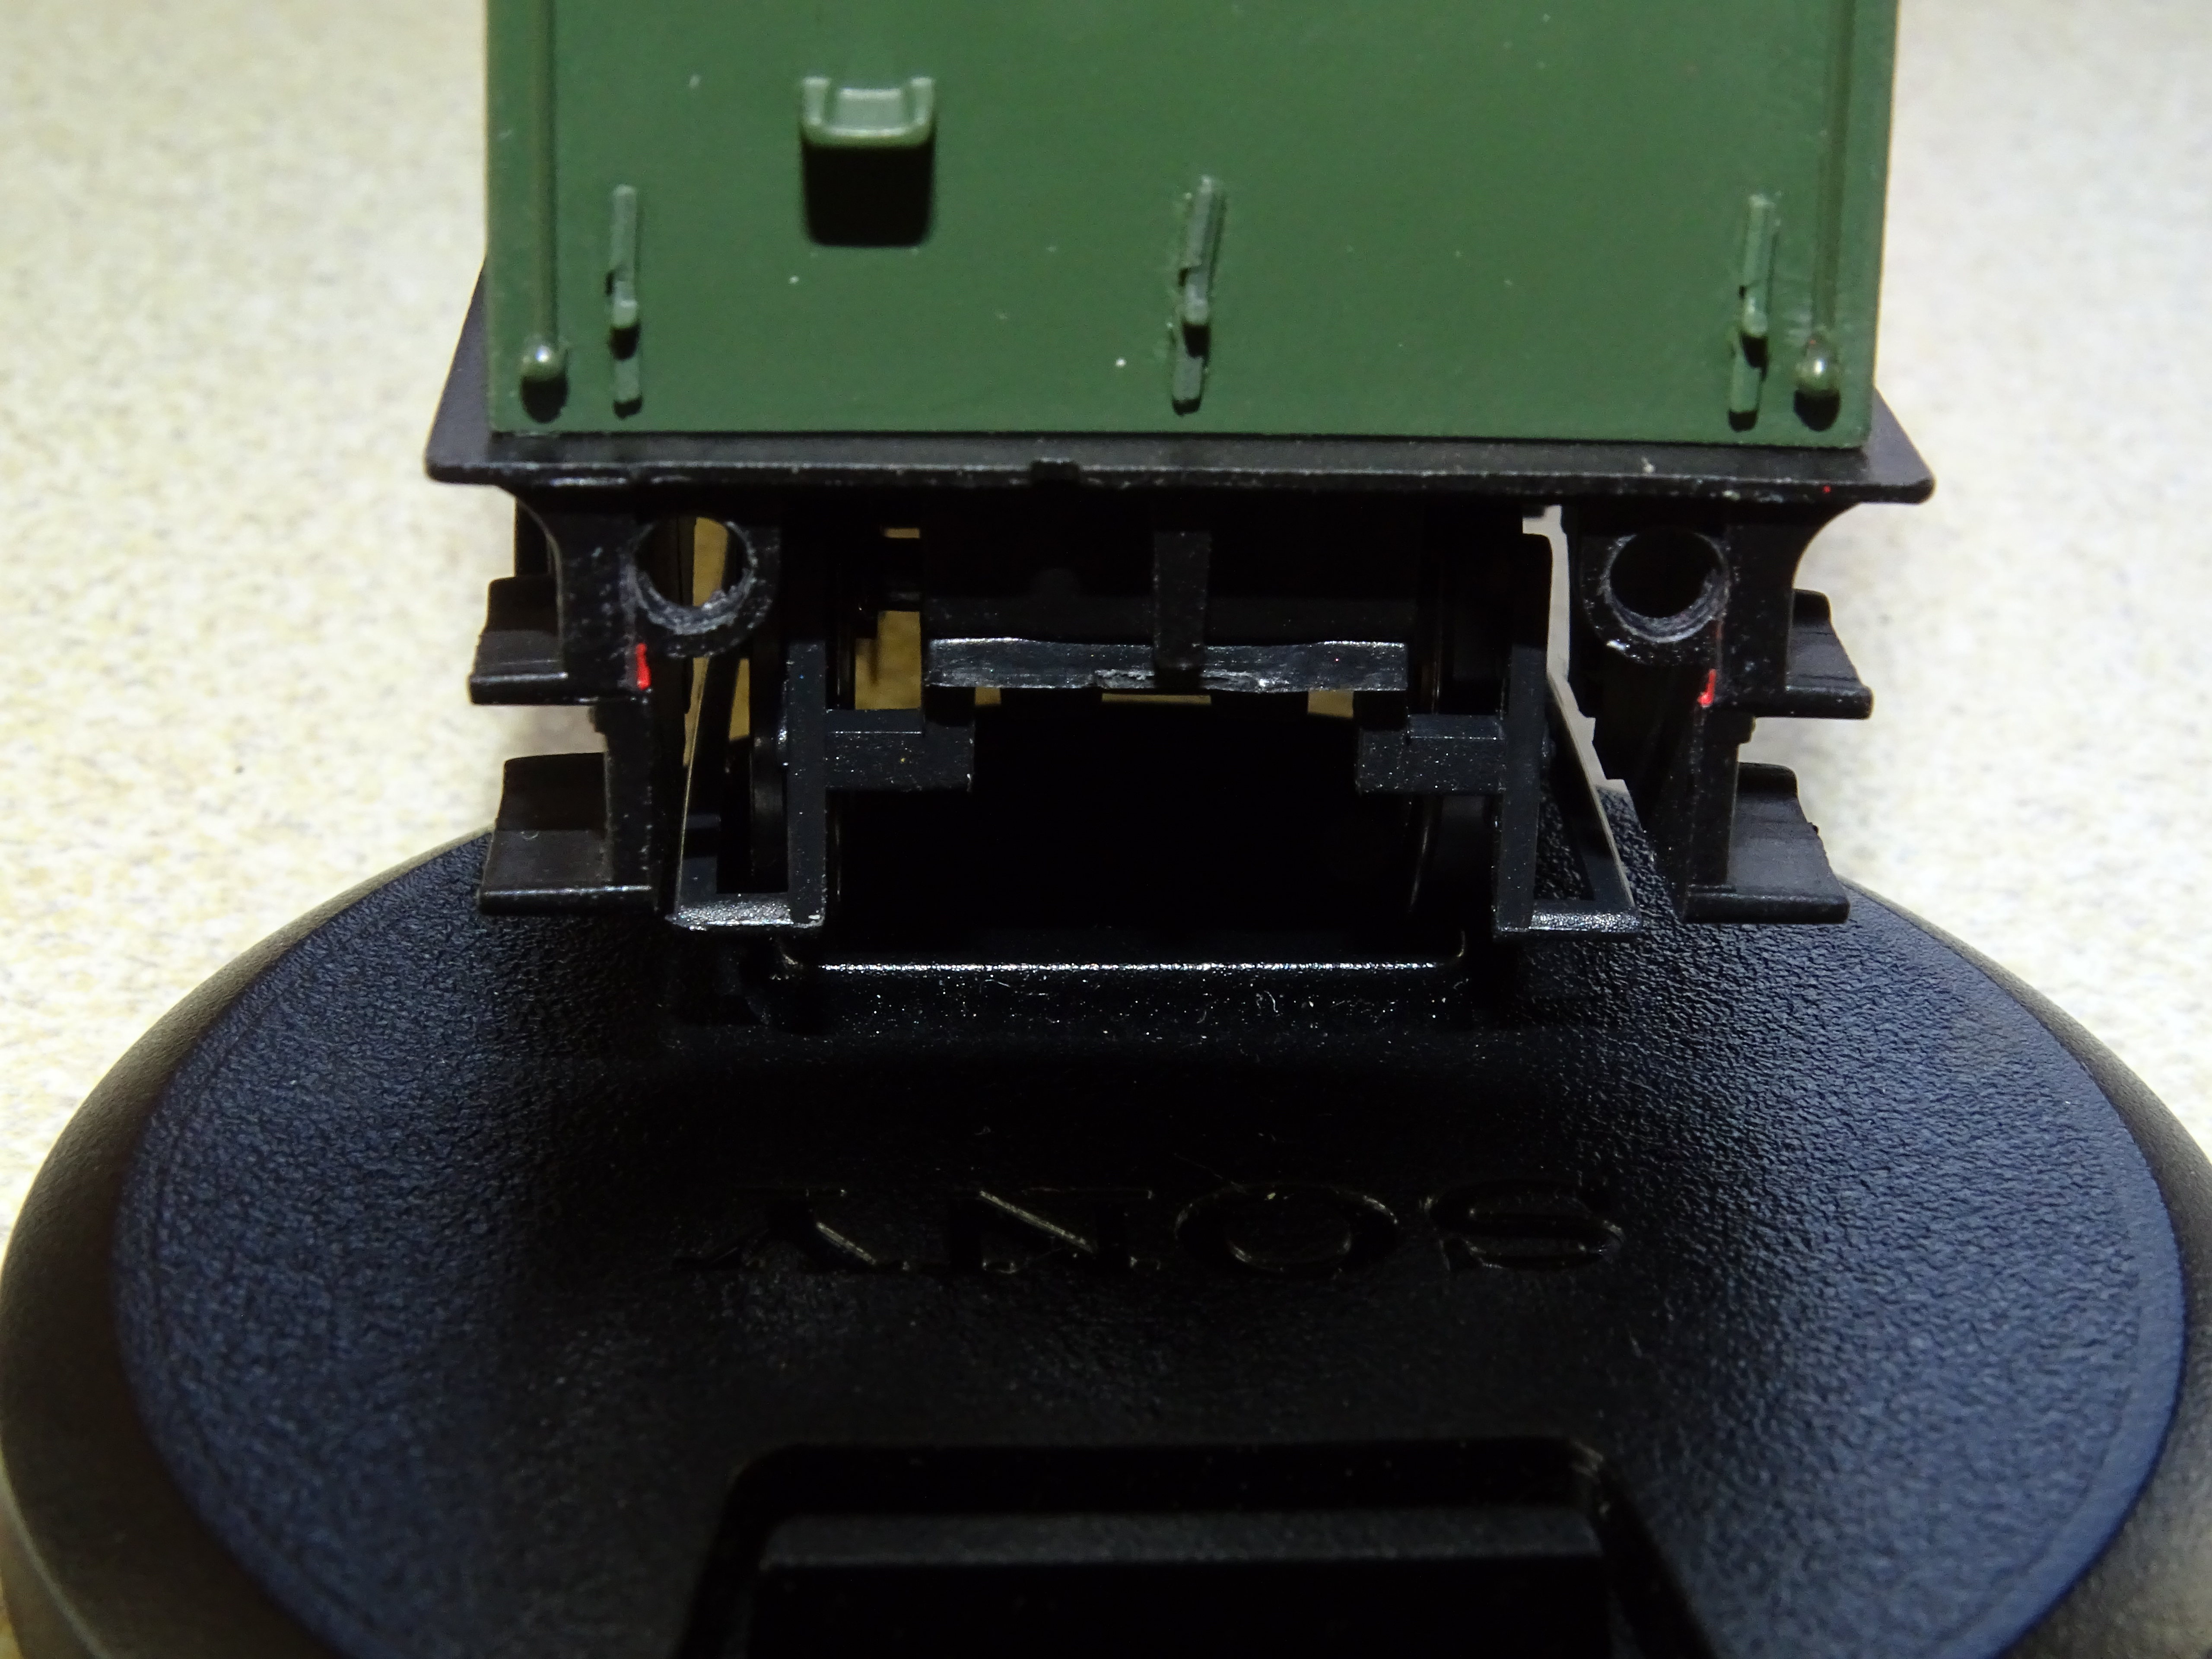
Hornby appear to have shipped Sun Castle (and subsequently Steady Aim) with only two sets of sand pipes. The running plate on the A2/3s has three sand boxes and the wheel retainer (bottom plate) has mouldings to fit a third wire sand pipe – it just hasn’t been fitted.

Spot the space for the missing wire sand pipes at the right

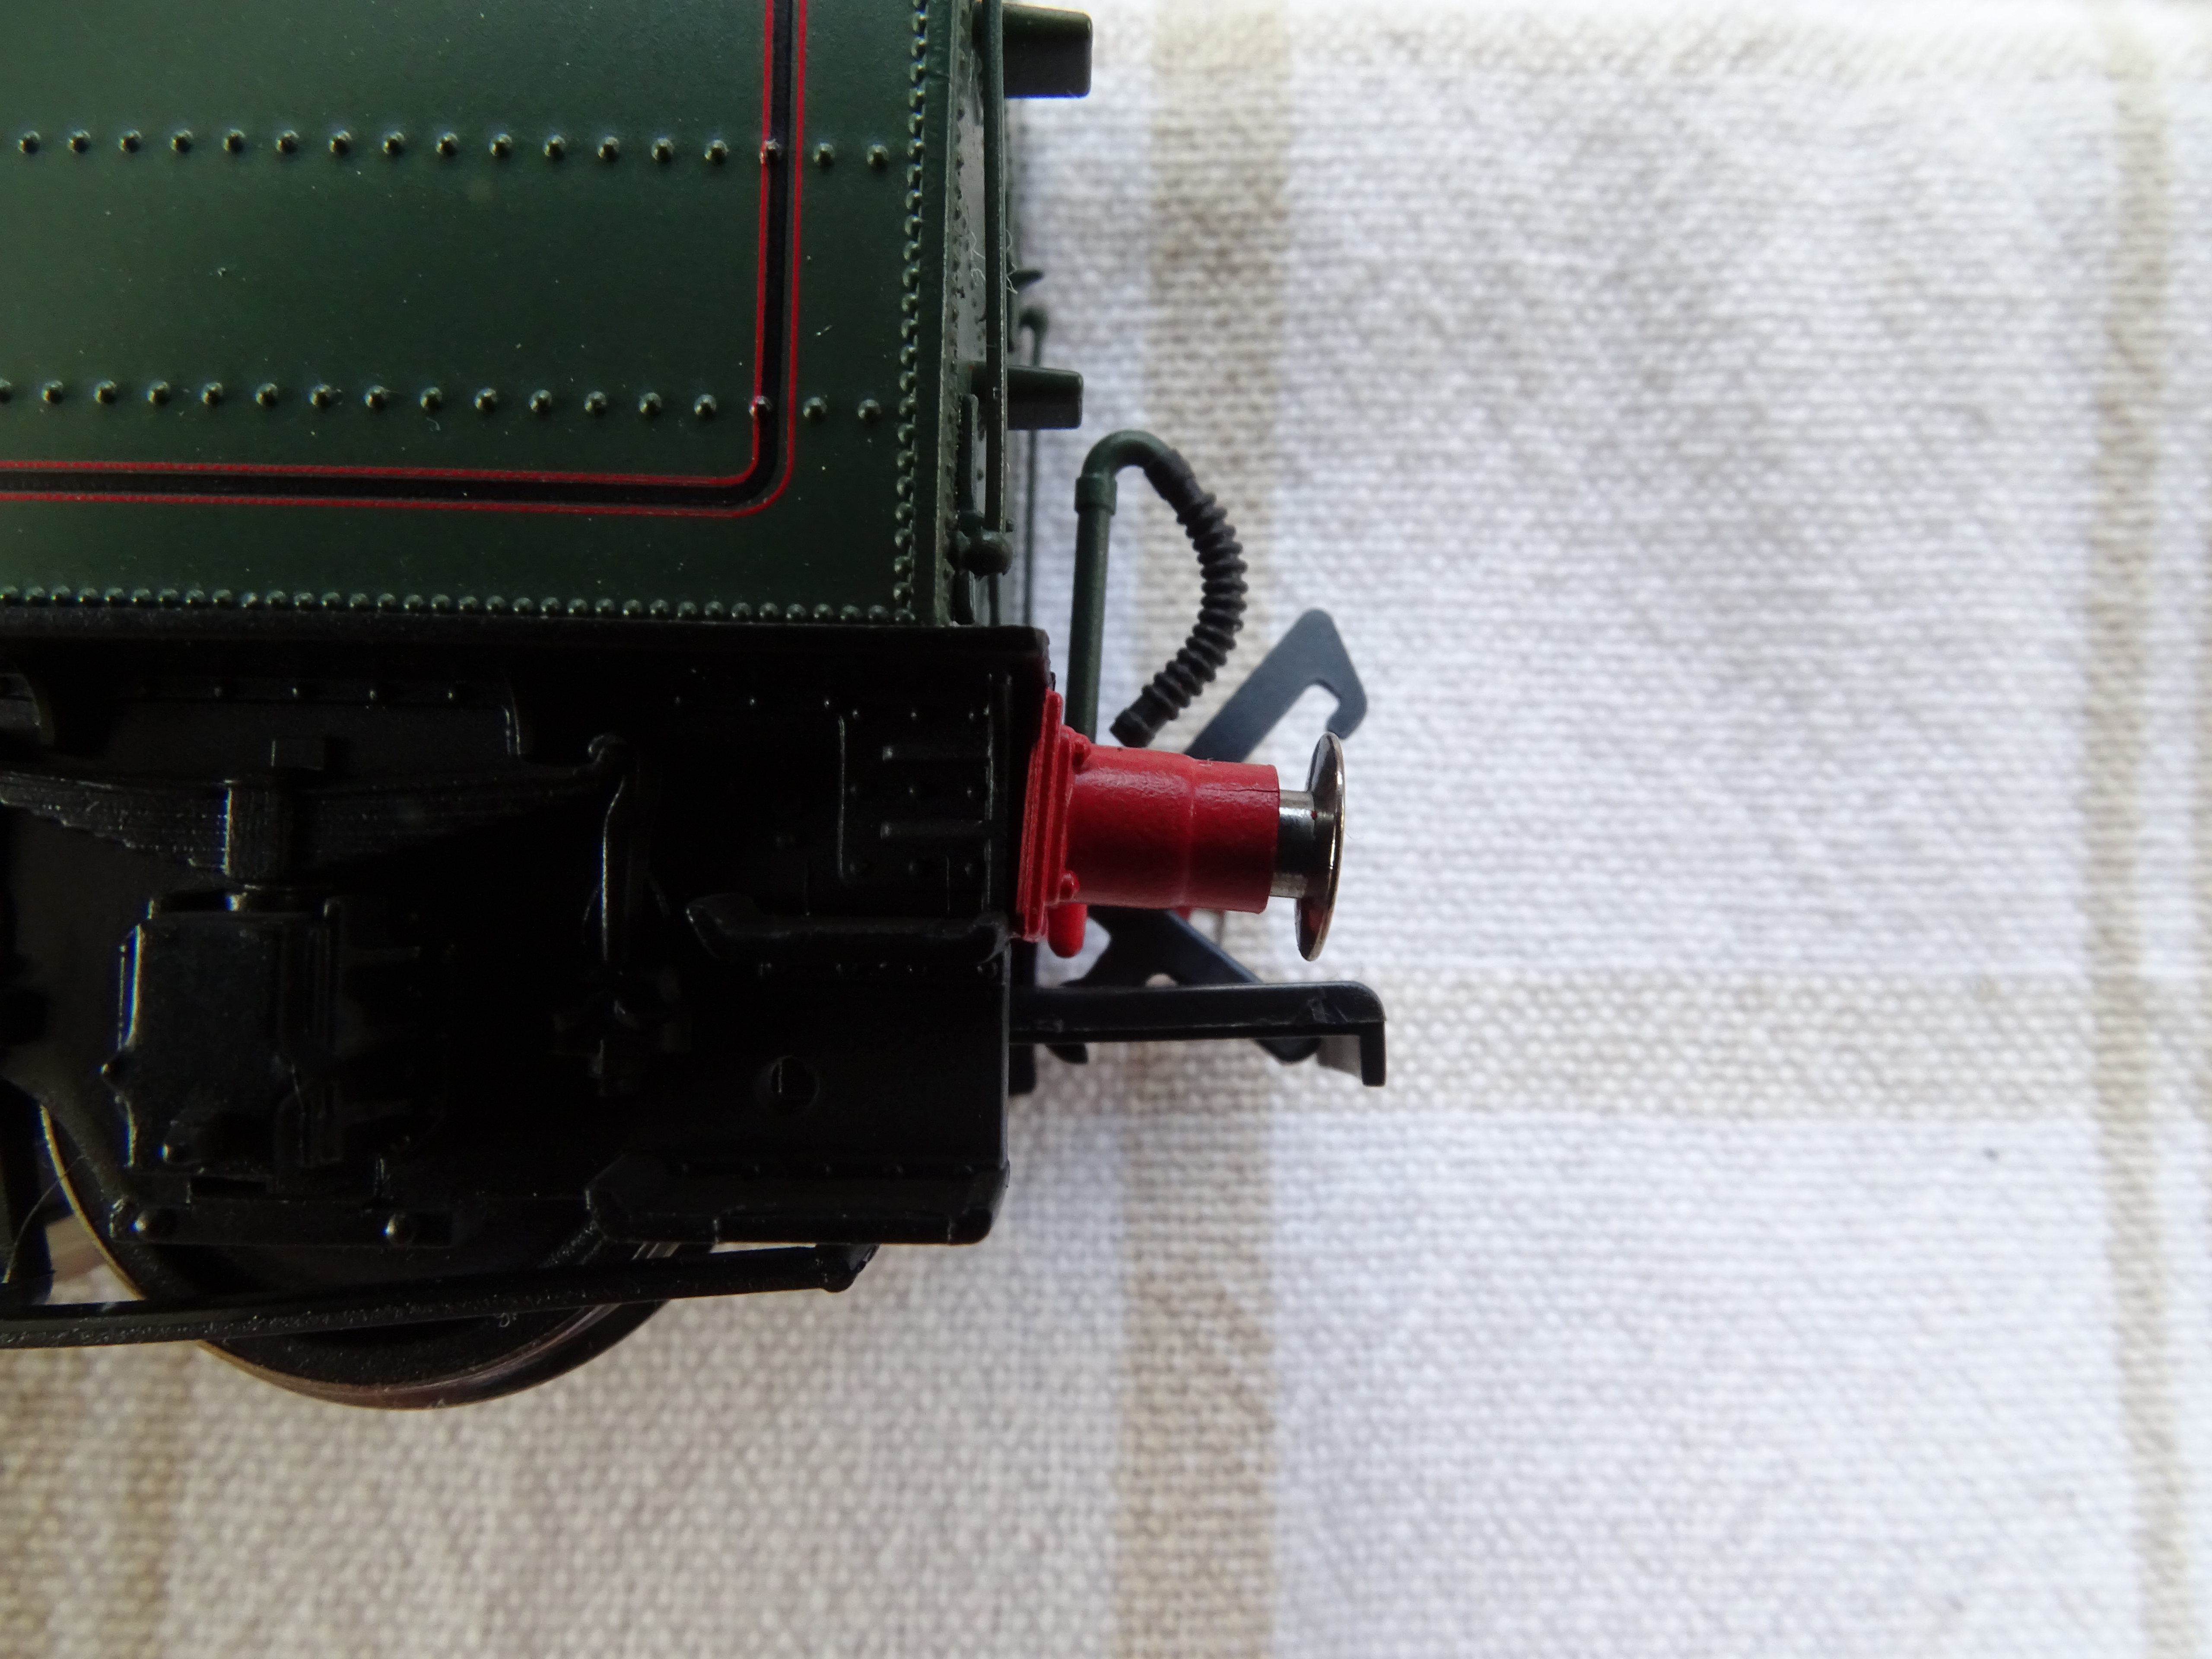
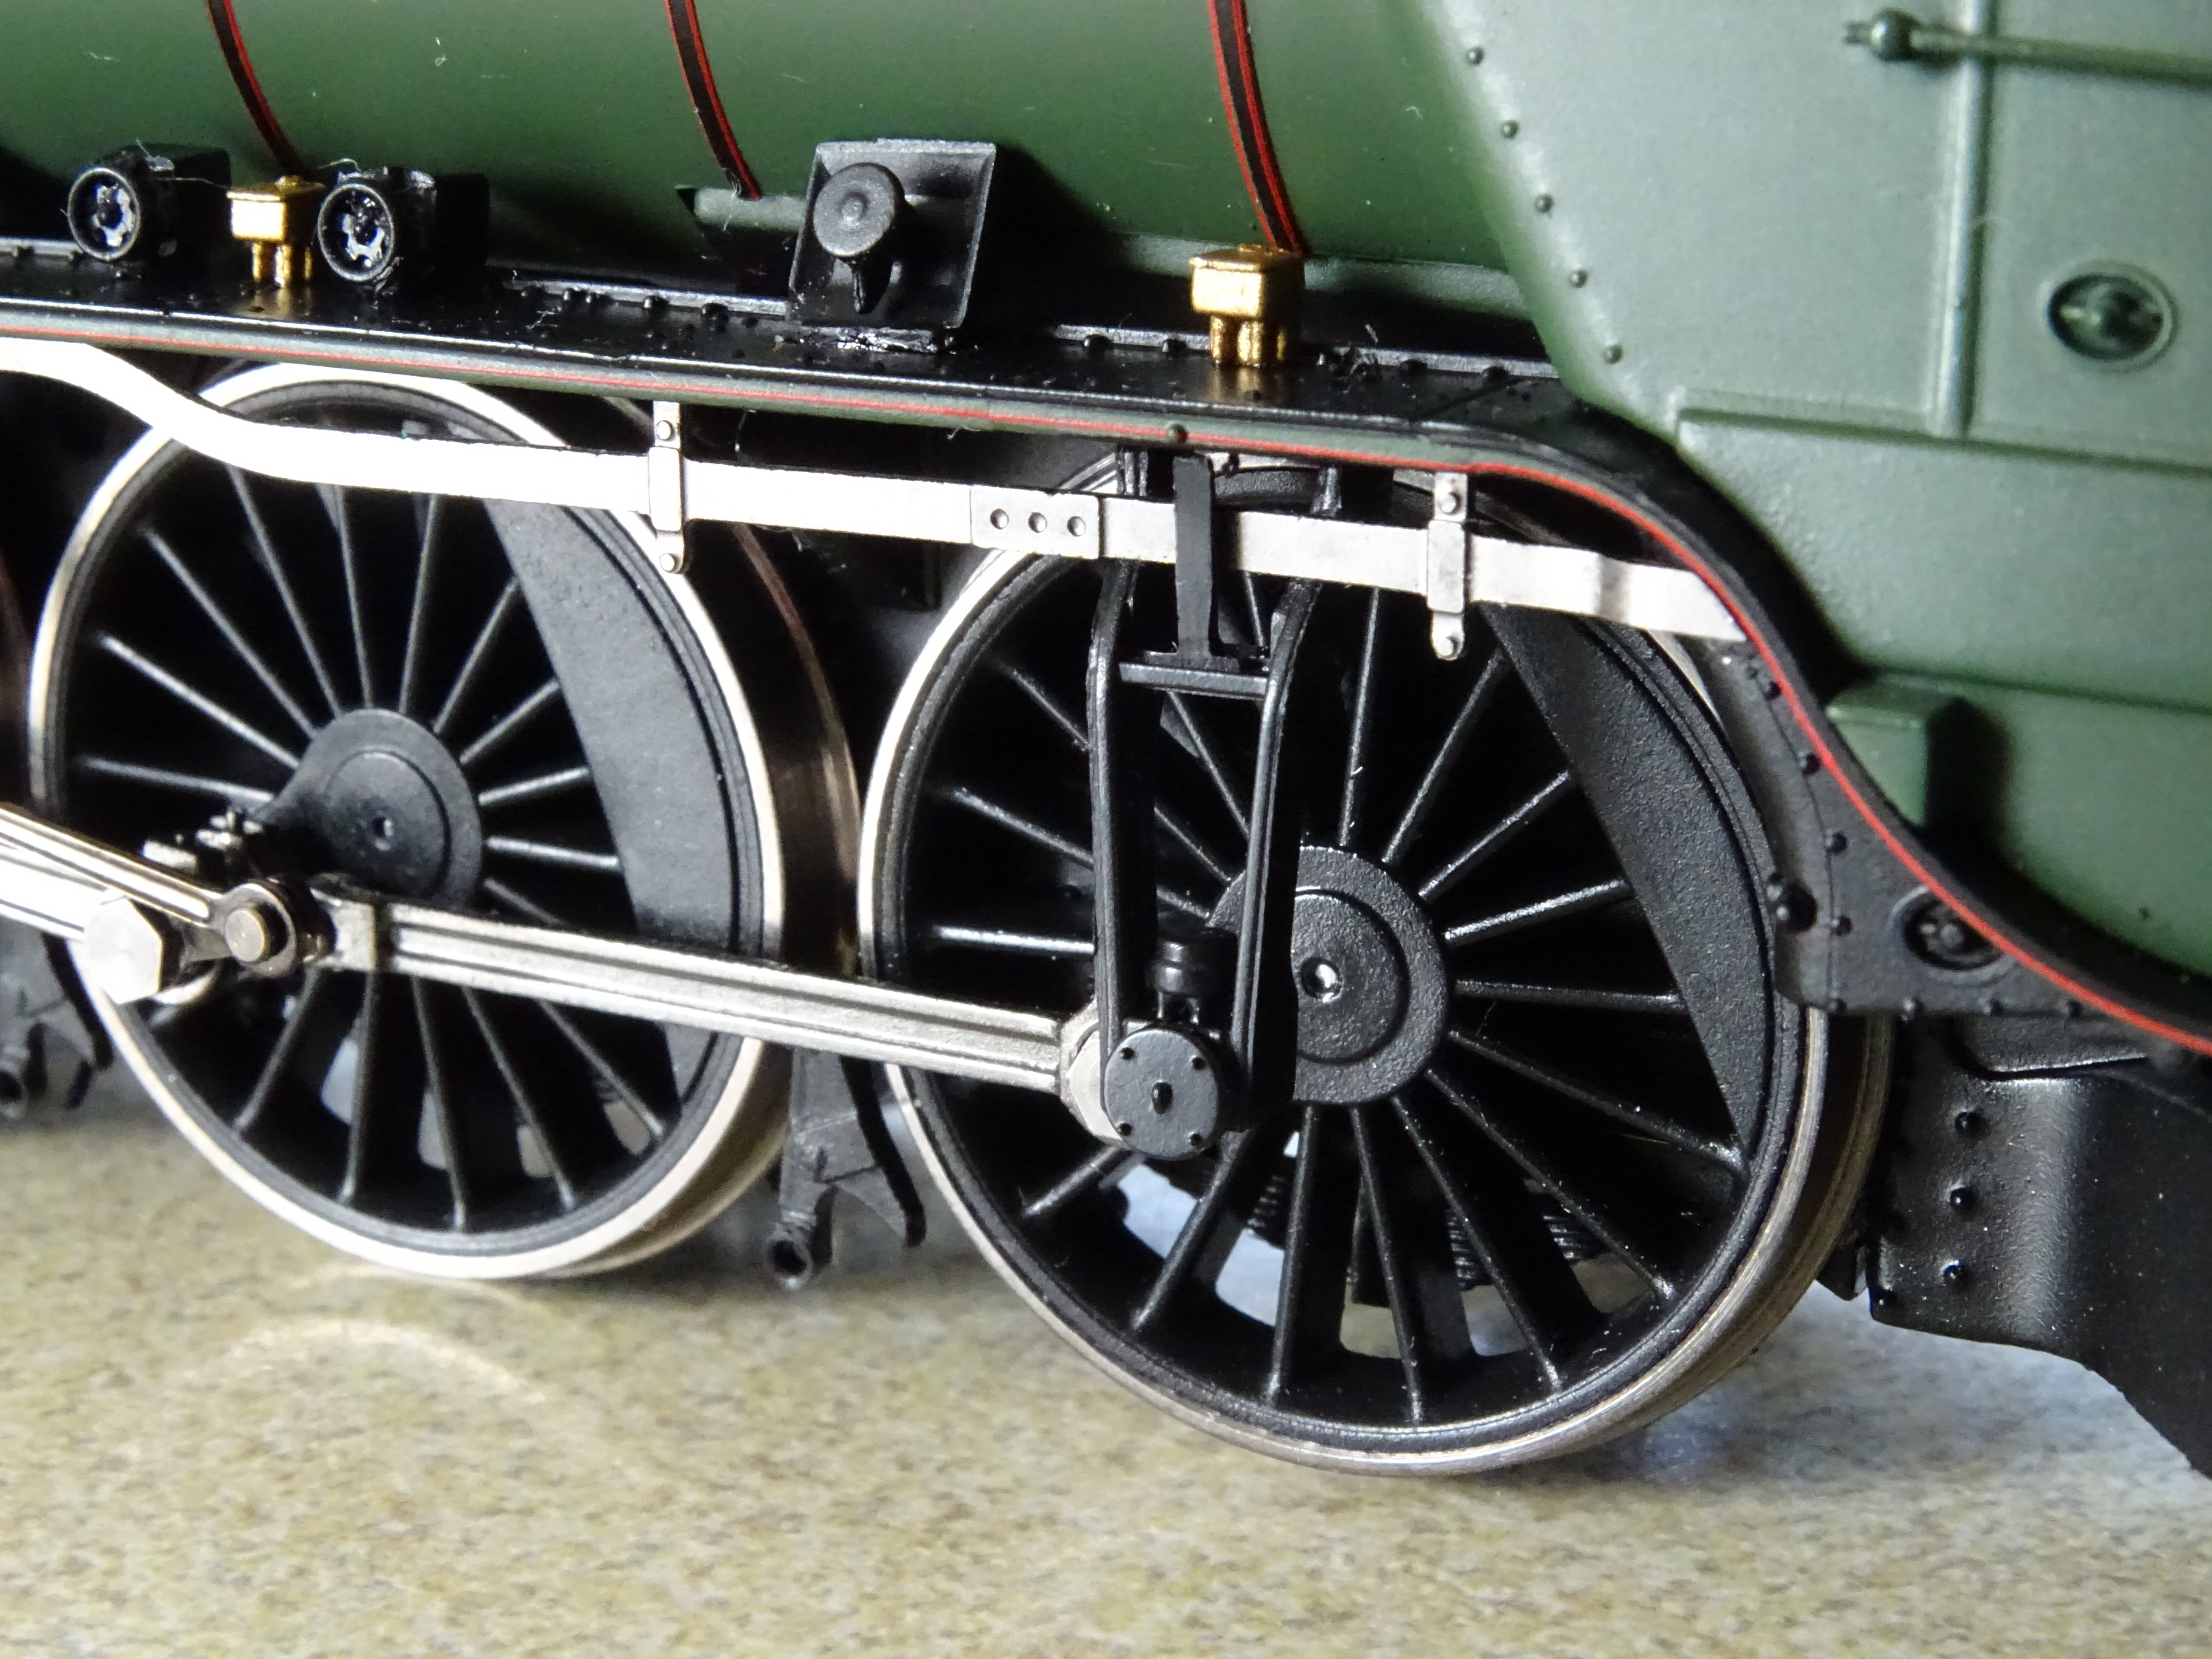
Sun Castle with three sand boxes and wavy reversing lever – it should lie tight up against the footplate (ignore the disconnected speedo I was inside adding lead).
Subsequently it has been pointed out to me that that the reversing lever on my picture of Sun Castle needs some adjustment so that it lies tight up against the footplate.
Returning to Thane of Fife I was not happy at the way the double sand box on the driver’s side stood proud of the running plate. As with so many of the detail parts on the model it can be easily damaged if subject to too much manhandling. I eventually added a fillet of black coloured Perfect Plastic Putty and gave both the putty and the sand box a coat of satin varnish – as shown in the picture at the top of this Post.
Steady Aim and Cock o’ the North were bought together and inspected prior to posting. Both arrived with the front lamp iron loose in the box. Cock o’ the North had also lost the rear buffer beam from the tender. I am guessing that the ladies in China must have special tools to fit these tiny pieces. It took me a long long time to refit the lamp irons. For Cock o’ the North I used some matt varnish on a piece of wire, for Steady Aim the varnish didn’t hold and I resorted to using Super Glue, in both cases holding the lamp iron with Blu-Tack. Now which way round does the lamp iron fit?

Cock o’ the North - Top lamp iron reattached using matt varnish

Top lamp iron reattached using Super Glue
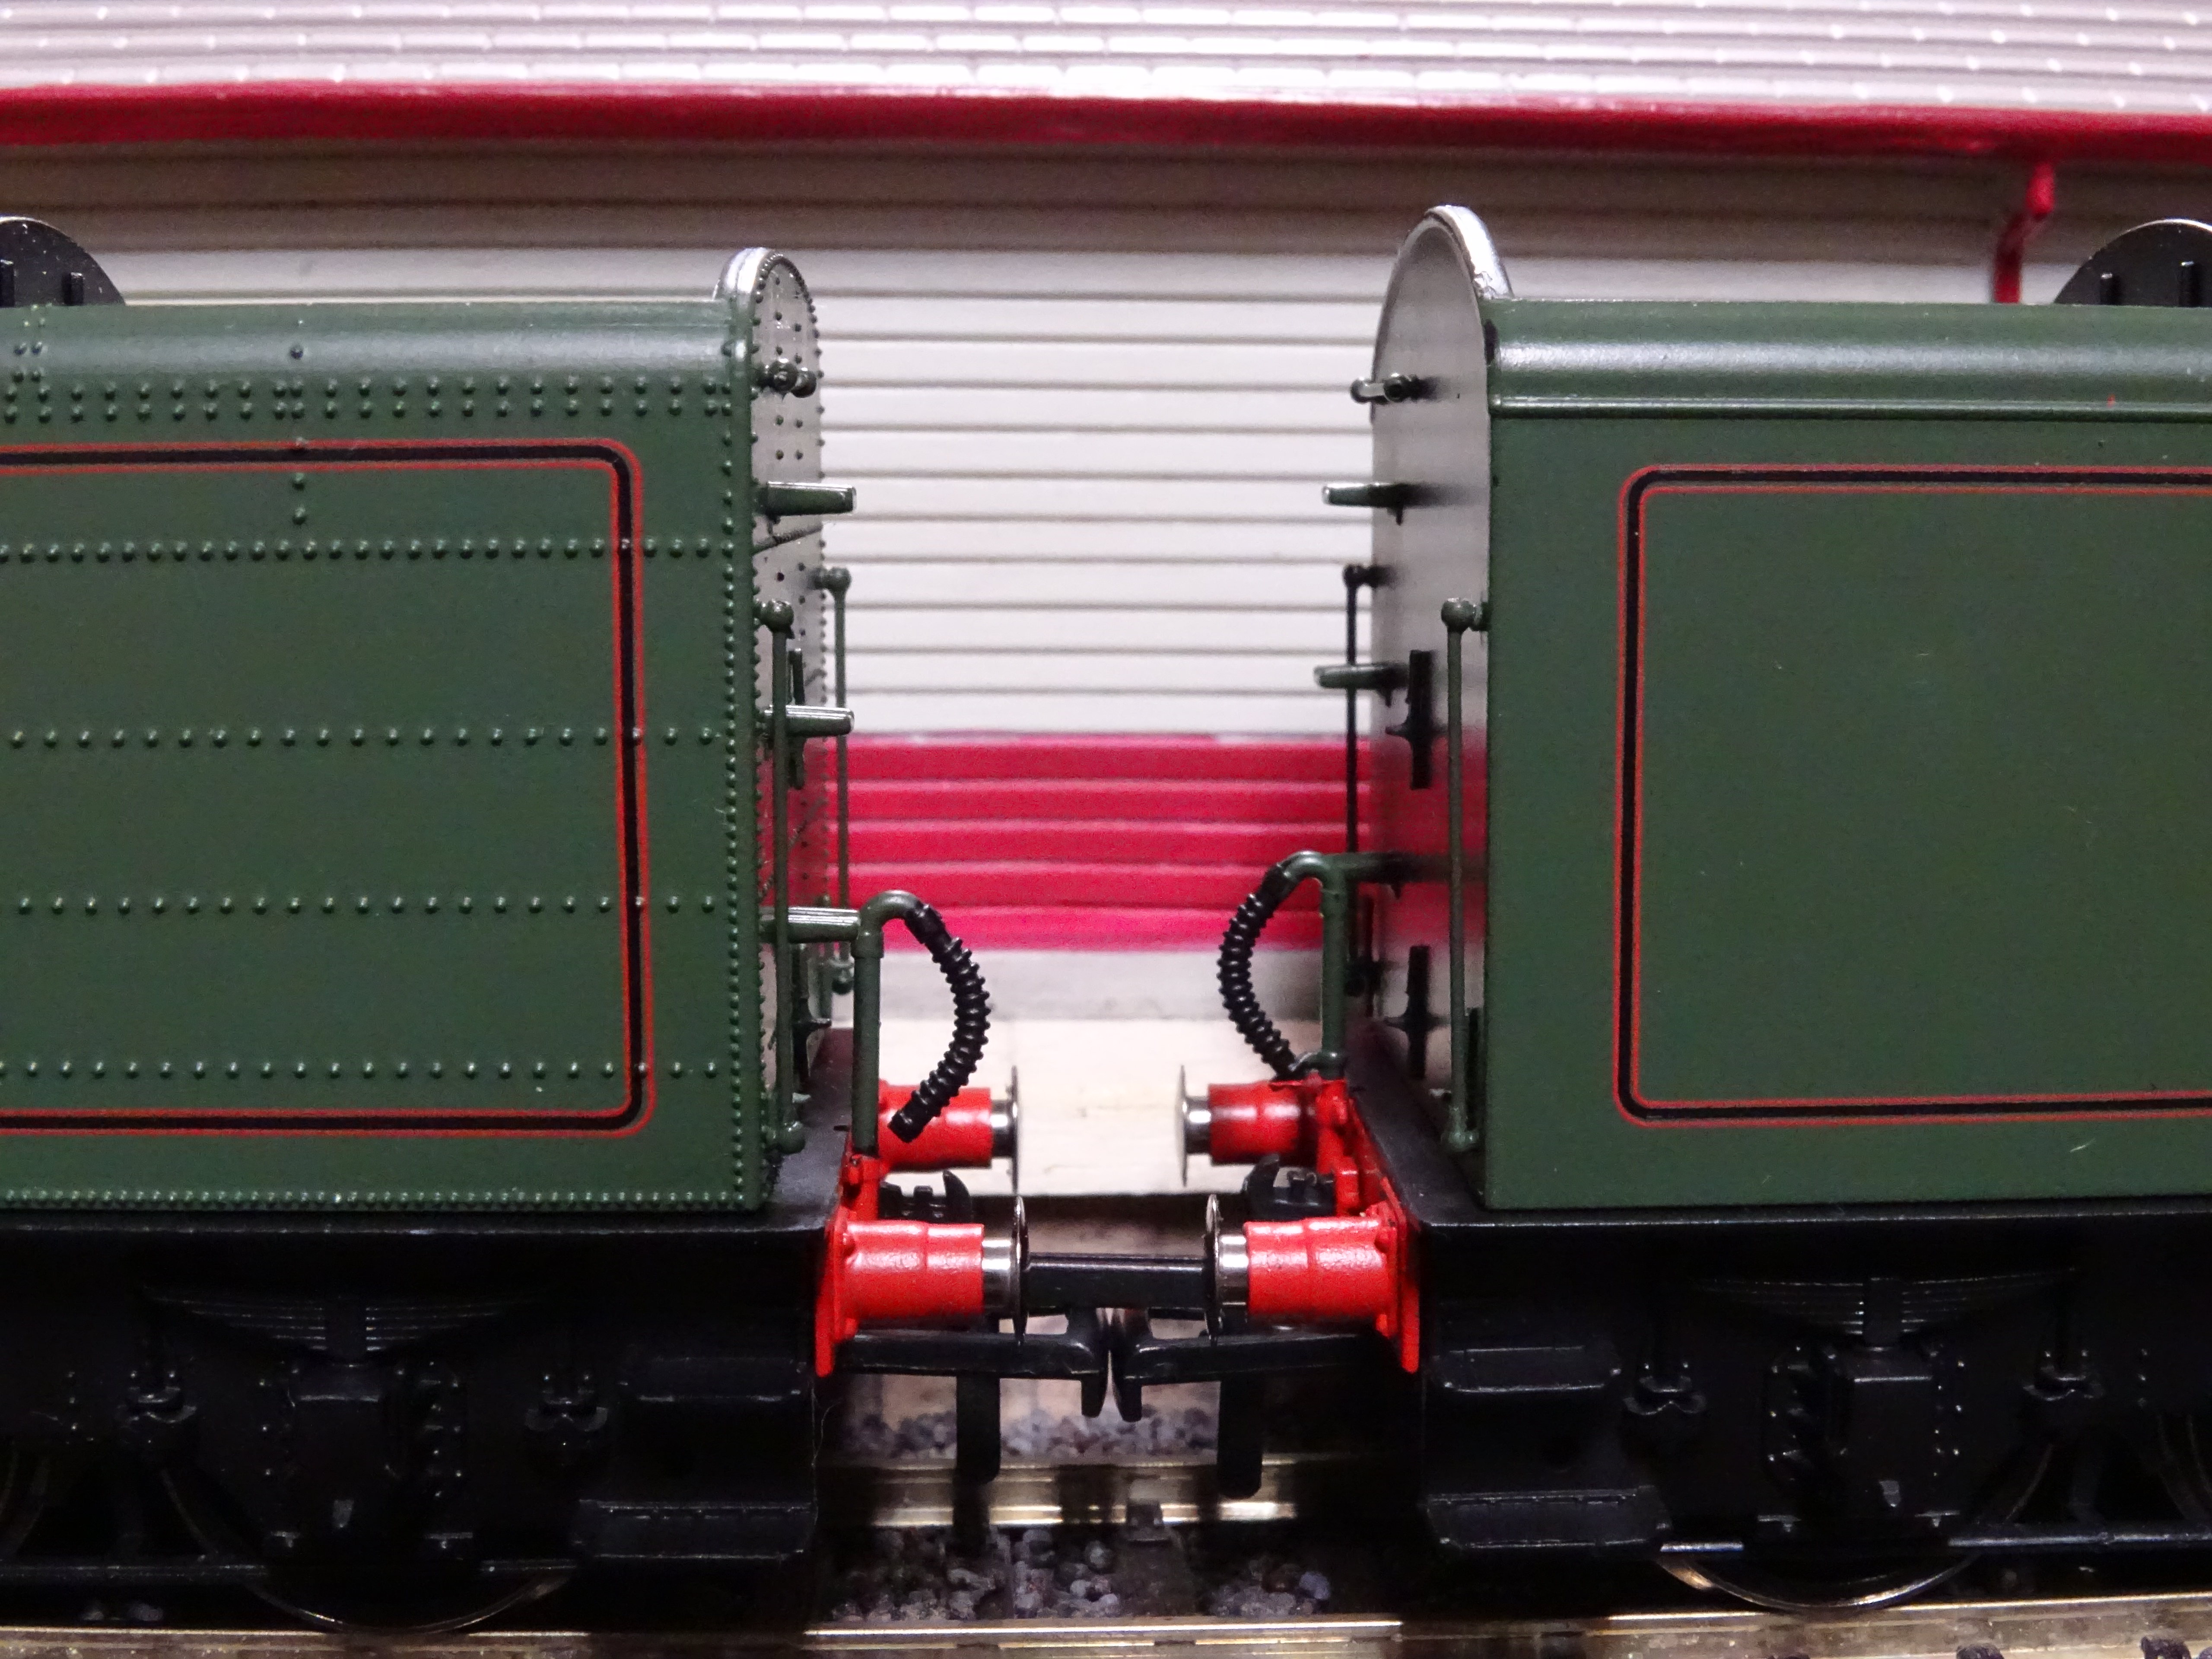
What about the loose tender buffer beam. There was little sign of any glue but then it didn’t seem to fit properly, in fact on inspection all the tender buffer beams seems to droop downwards.
Buffer beam droop
I enlarged the holes in the tender behind the buffer beam thinking that this would sort the problem. It made an improvement but I think I must still be missing a trick with this issue.
Enlarged holes behind the buffer beam
One of the cab doors on Cock o’ the North was hanging off at a jaunty angle. It didn’t take much effort to remove the door, together with the driver’s seat which is all part of the same moulding. There is a ‘peg’ at the bottom of the cab seat which fits into the cab floor, I would say a clever design but it does still need to be attached correctly.
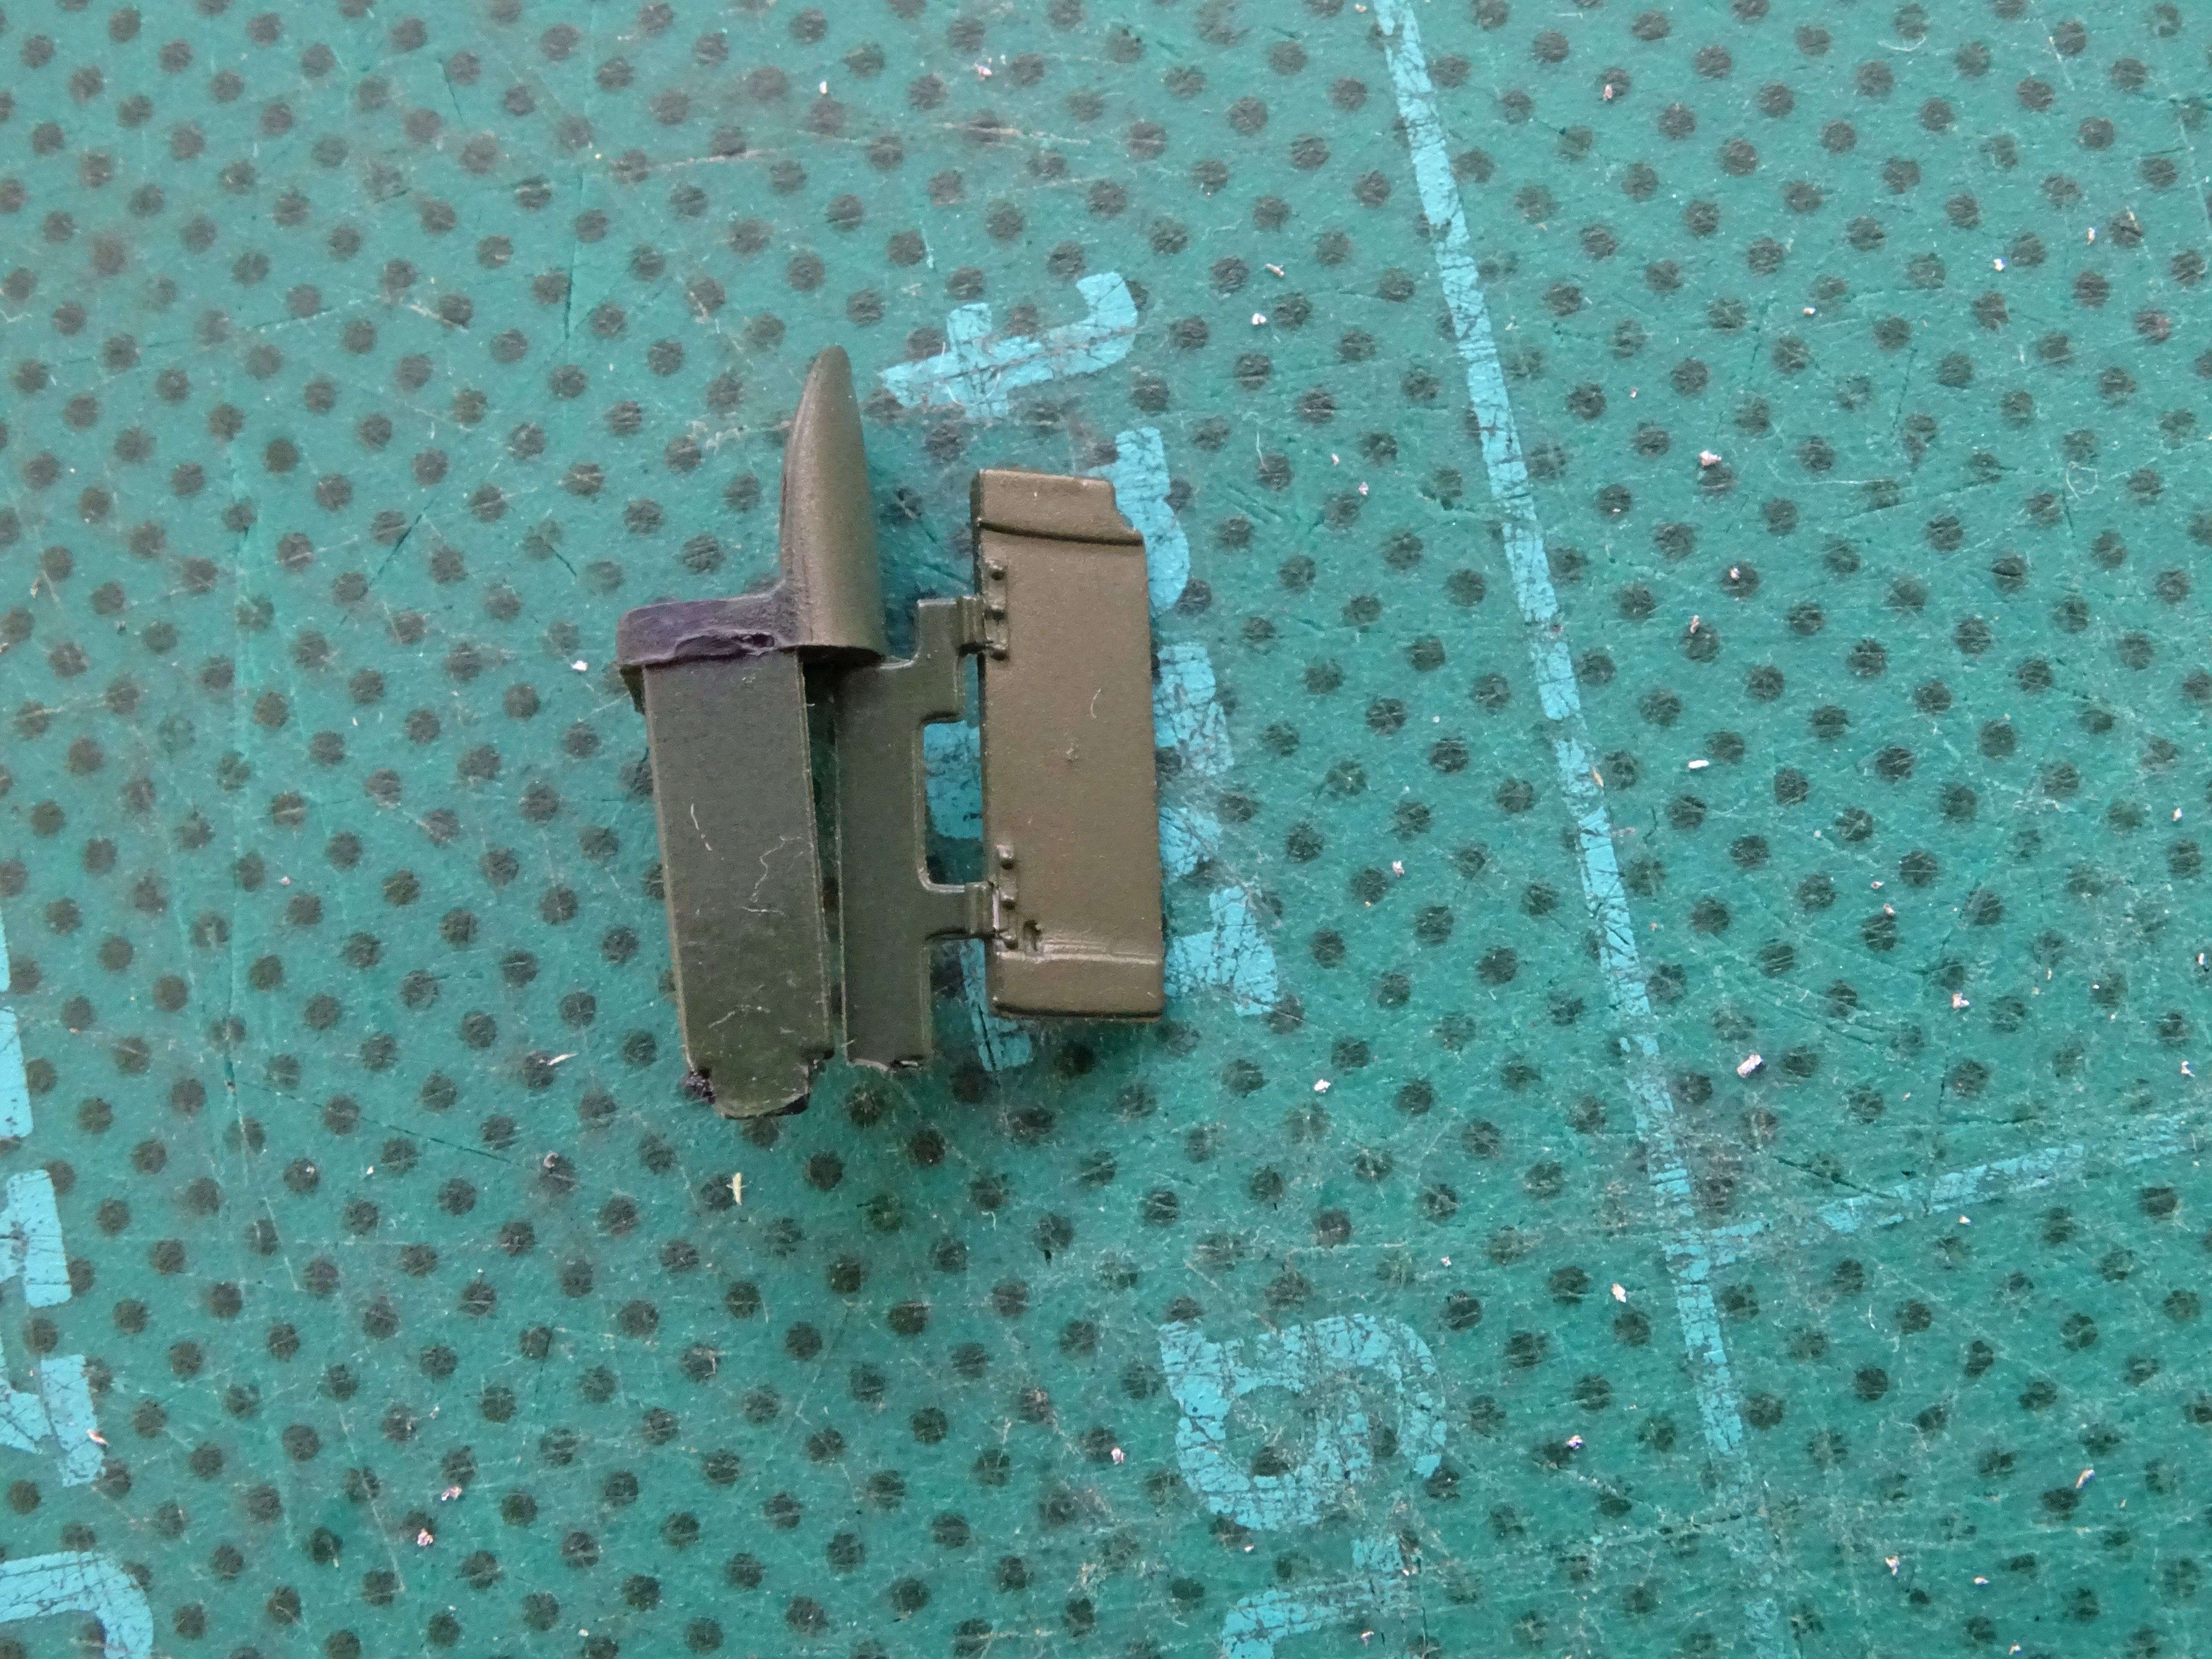
Cab door and driver’s seat moulding
Time to play trains! Two issues suddenly appeared. Firstly Sun Castle jumped the track at a set of points that have never been any bother before. Secondly Steady Aim came to an abrupt halt when the tender derailed and the wheels shorted out the point blades.
I thought the problem with Steady Aim was simply that the water scoop was too low and had caught on point blades. Removing the water scoop seemed to solve the issue but it soon became apparent that Steady Aim was a ‘lame duck’ in terms of haulage compared to the other models. On further inspection I could see that one set of tender wheels was wedged at an angle by one of the phosphor bronze pickups. On starting to dismantle the tender I realised that the brake rodding on one side was misaligned and that the bottom keeper plate was warped and would not lie flat. Digging deeper I was able to see that the soldered connections to the pickups inside the tender had been made rather carelessly with the result that the solder had fused to the surrounding plastic forcing the phosphor bronze out of shape. Luckily the solder was easily forced off the plastic and the pickups returned to the correct profile. The moulding for the plastic wheel retainer and brake rodding was dumped into hot water and magically regained its original shape.
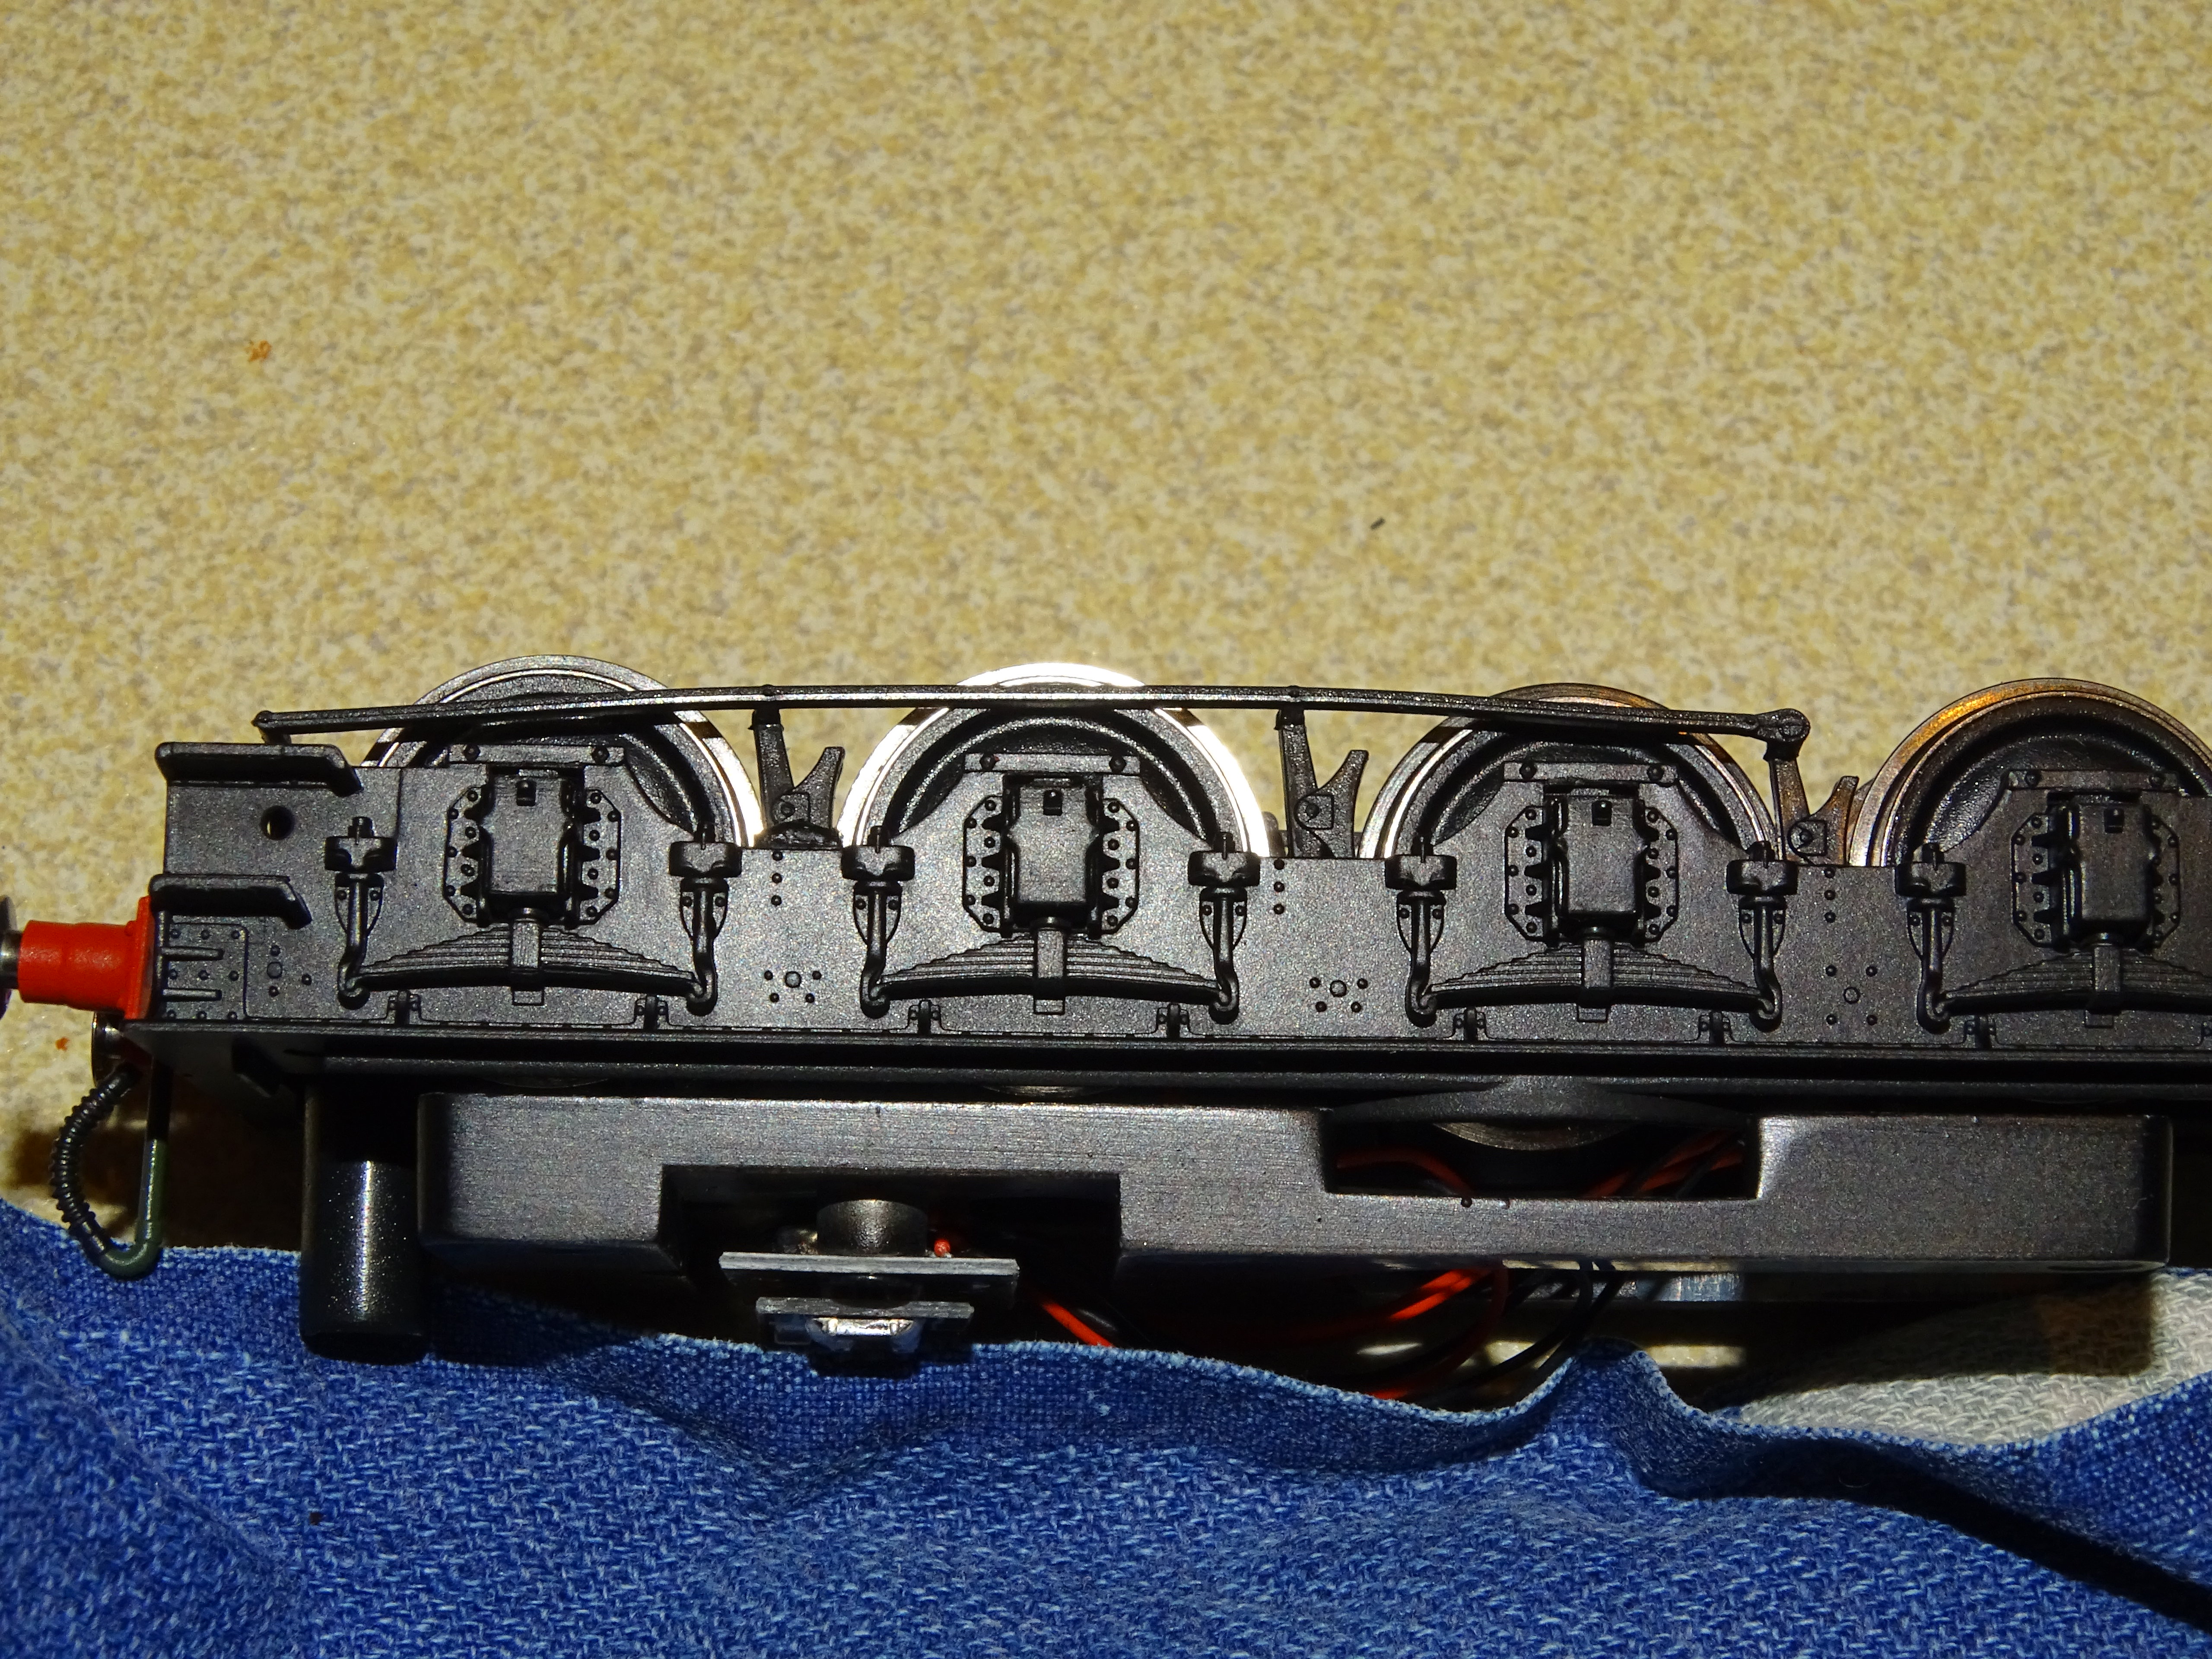
The warped brake rodding

Deformed phosphor bronze and the wedged wheel set
Soldered connections fused to the plastic surround
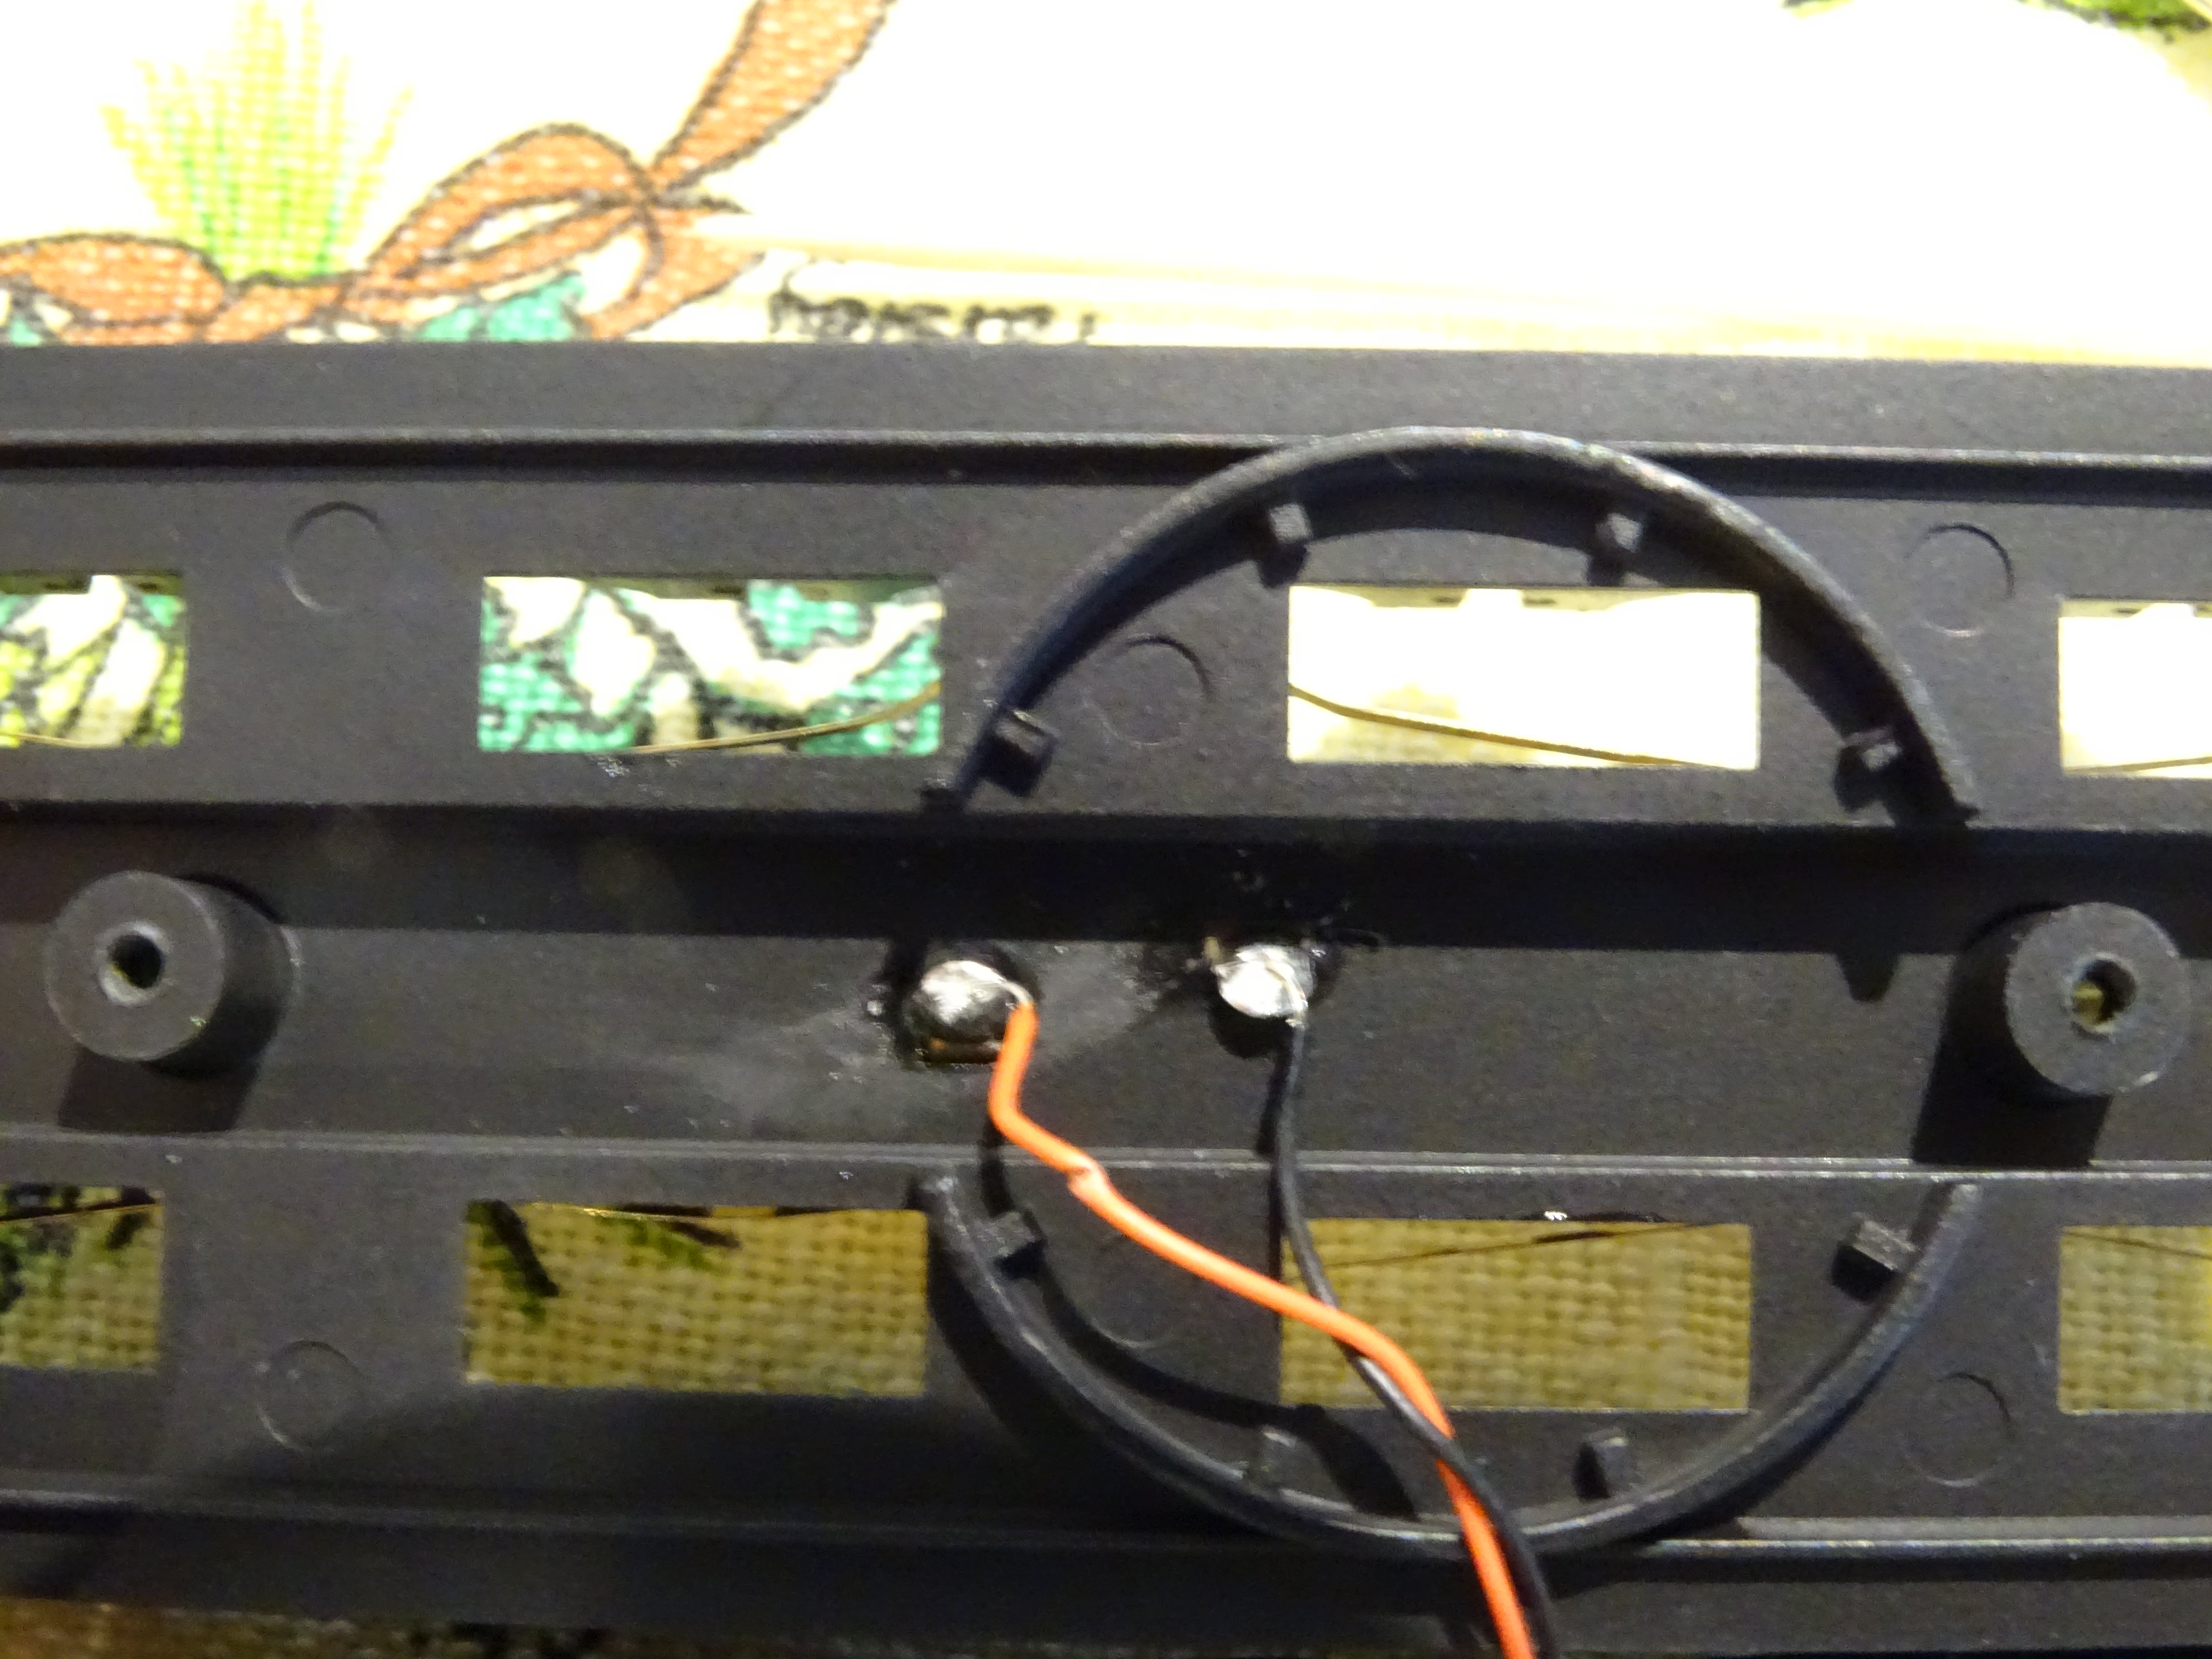
A good outcome but still none of these new engines would haul seven Bachmann coaches up my inclines (something that is not an issue for Hornby’s Britannias). This brings me back to Sun Castle jumping the track. With the engine on level track there is virtually no ‘up and down’ movement available at the front bogie – meaning that with the slightest unevenness in the track, or at a change in gradient the engine will be resting on the front bogie preventing it from easily moving from side to side and at the same time lifting the front driving wheels from the track reducing traction. On closer examination it can be seen that Hornby have inserted a tapered spring between the bogie and chassis, there is no washer present.

Bogie dismantled, showing the tapered spring – no washer
Clearances must be very tight and at times I think on my layout this spring is causing the driving wheels to lift off the track. Bachmann had a similar issue with their Dukedog and City class models https://longsheds.blogspot.com/2014/08/no100-bachmann-gwr-4-4-0s-and-gradients.html . With the springs removed I can imagine my models run more freely and they certainly don’t derail. As to hauling seven Bachmann coaches for my layout I solved this issue by adding 15gm of lead – a circular disc in the end of the boiler and some lead shot in the screw holes in the chassis block.

Spot the lead disc
The seam along the top of the boiler on some of my models is rather uneven. Whilst ‘inside’ the various body shells I suddenly realised that I could ‘see out’. These models are very delicate and I would say that glue has been used rather too sparingly.
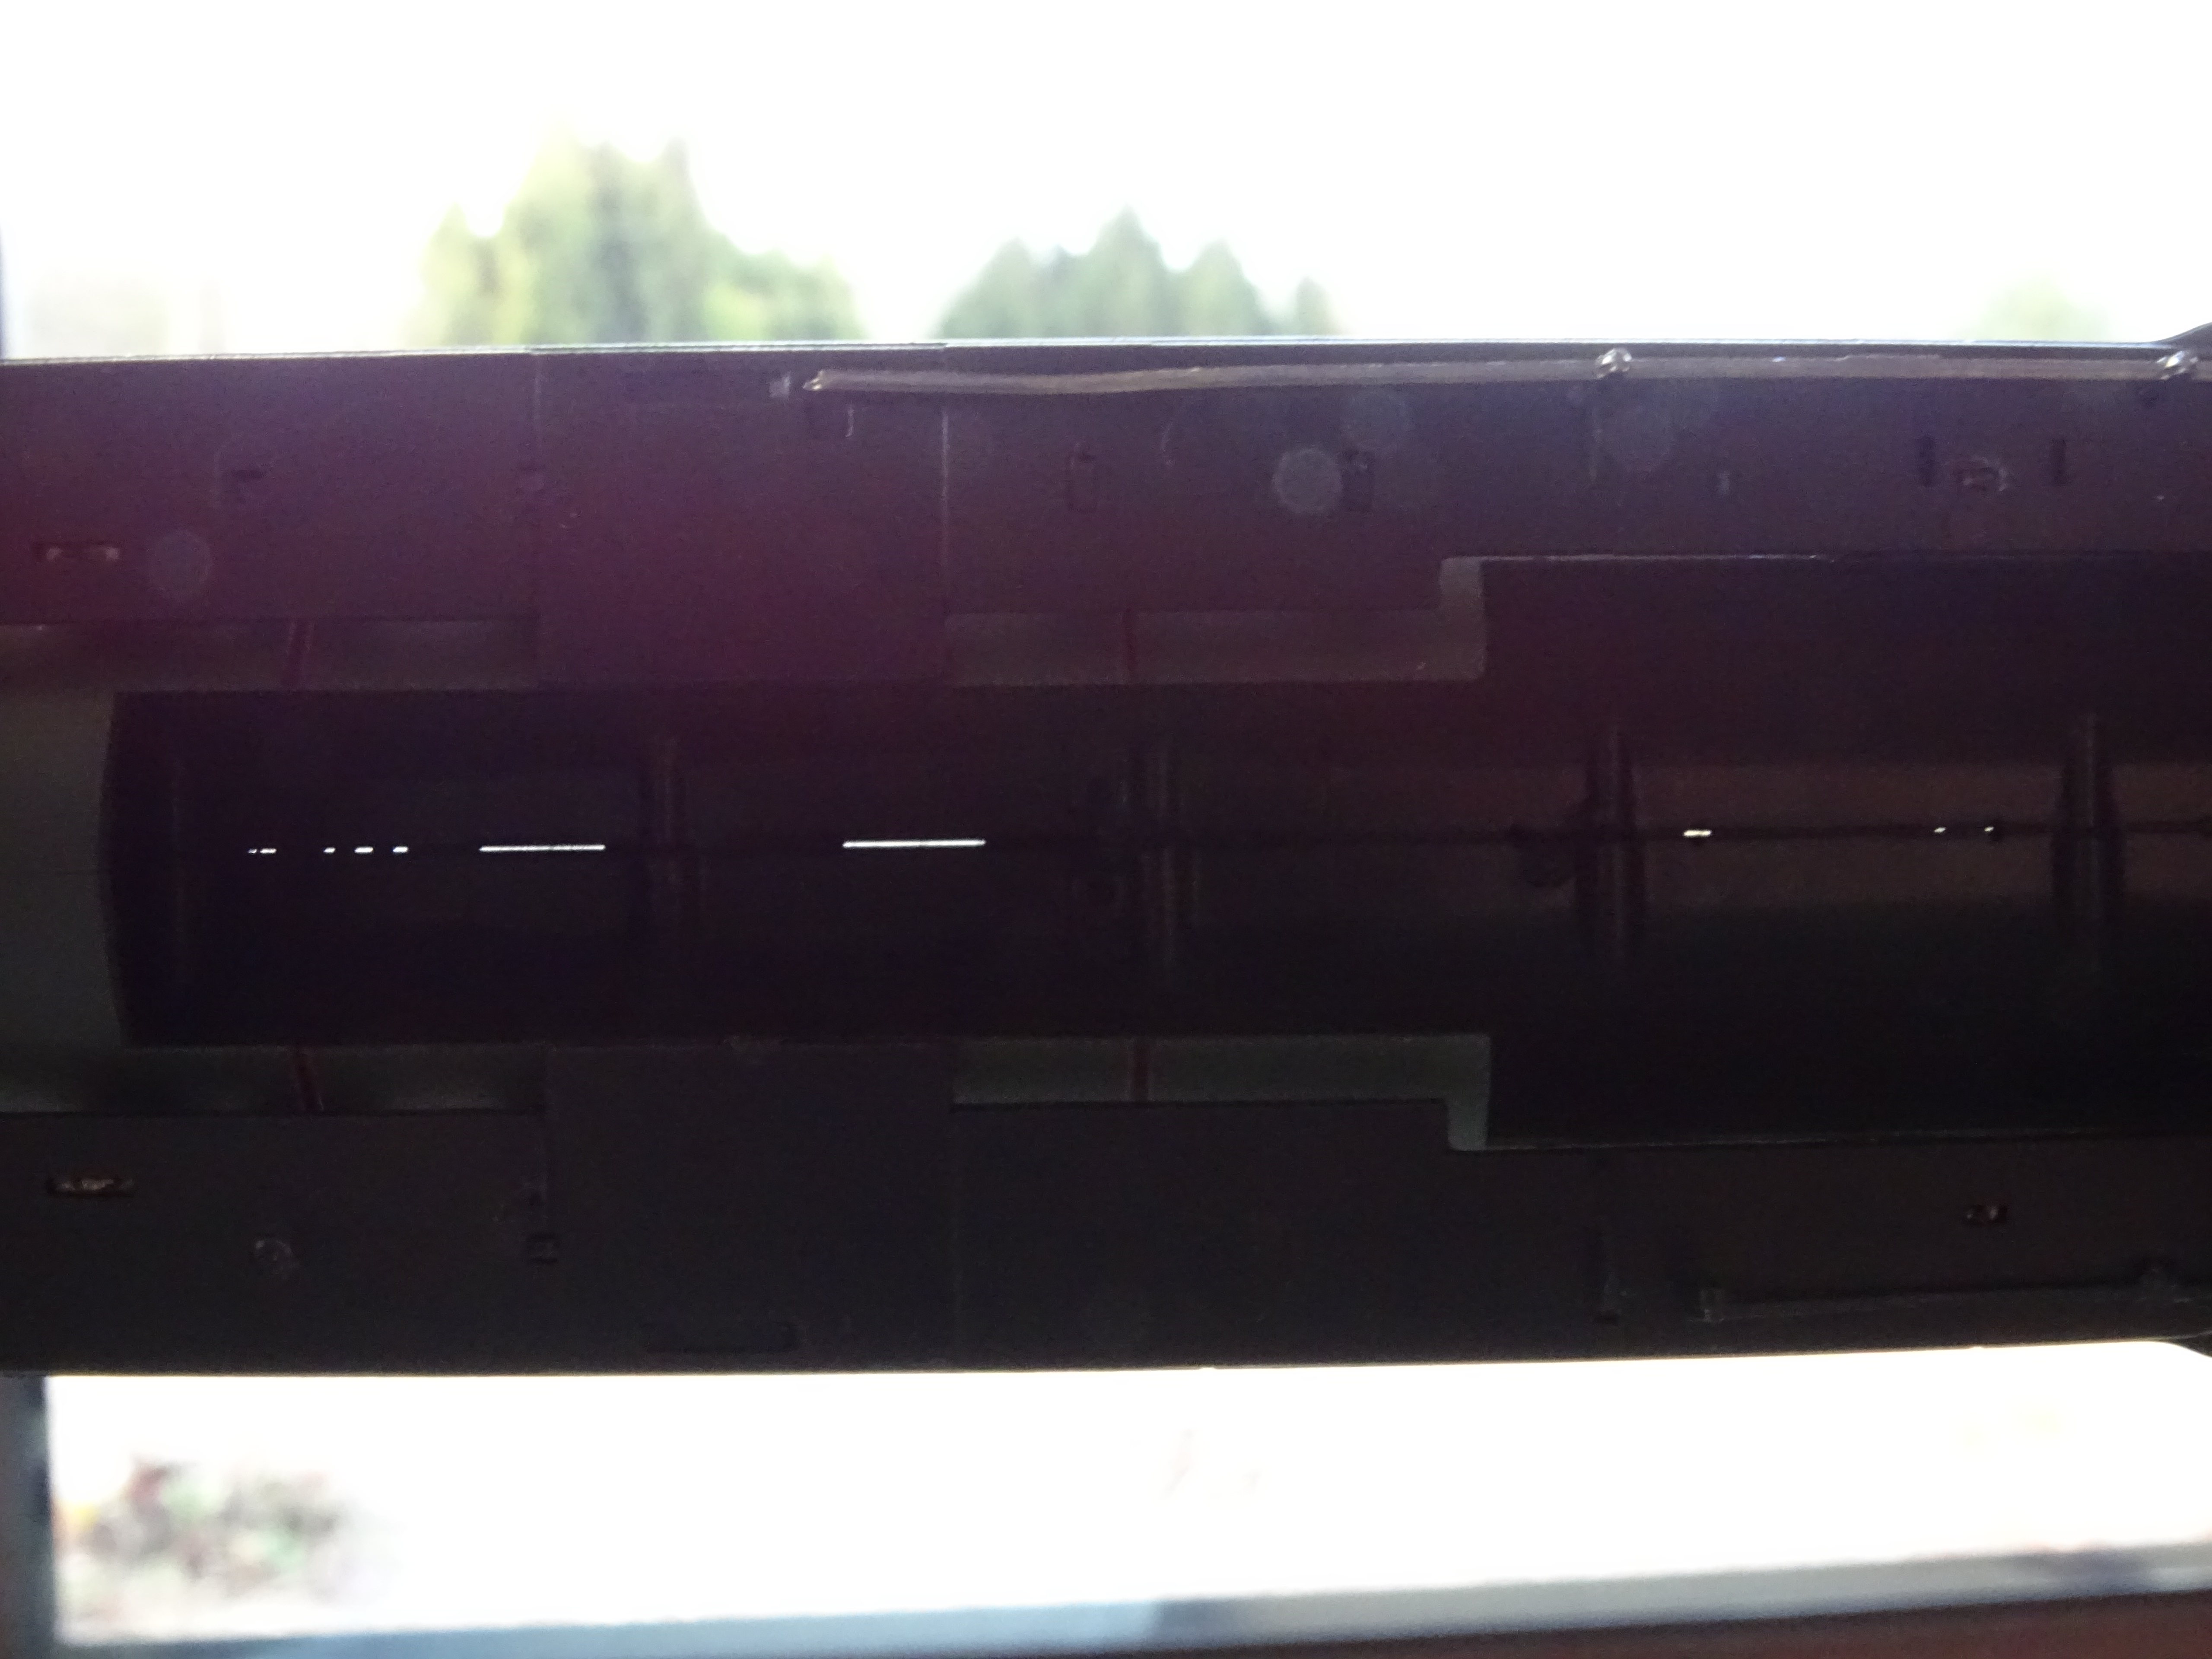
Cock o’ the North – from the inside looking out
For completeness I have added some images of how I think things should be! First the speedometer bracket that dropped off Steady Aim – it has to straddle the reversing rod.
Steady Aim – speedometer bracket
Some images of the reversing lever in I think its correct position, note the grooves in the footplate. If the lever and valve gear are not aligned correctly and don’t sit in the grooves the footplate will be warped.

The reversing rod tucked up under the footplate

Grooves on the underside of the footplate for the valve gear and reversing rod
There is a lot that is good about these models and they can be easily made to run very well. The body shells are very detailed but very fragile and sadly from what I have seen they are not always glued together correctly. Perhaps there are too many individual pieces to attach and not enough time allowed in the factory? (The opposite problem to ‘Design Clever’ that produced Duke of Gloucester.)
The shade of green and the red lining used by Hornby doesn’t seem right but perhaps for a layout setting it becomes less important:-
Postscript
Since writing this Post I have been contacted by ‘Dominion’ of RMweb and encouraged to fettle Sun Castle’s reversing lever and to sort the drooping tender buffer beams.

The reversing lever seems to have been moulded or pressed from soft alloy. It is easily pulled away from the body shell and can be gently massaged to the required shape. It needs to tuck into the groove beneath the footplate. I did wonder if the lever on my Sun Castle was too wide and I used a tiny screw driver to clean out the groove in the plastic footplate. Having achieved the required shape and fit, the lever can be fixed in position with some tiny spots of Super Glue.


Comments
This is very interesting, as I picked up a "Steady Aim" just before Christmas in an open auction on ebay for £114, which surprised me as it is BNIB - perhaps those that wanted one have already made the purchase. I've run it successfully, all that went wrong was the water scoop fouled the first set of points and fell off, just as you found!
I haven't yet checked for all the detail flaws that you found, which fills me a bit with trepidation.
I'm bound to say I think the shade of green is dreadful, Ann looked at it as well and was pretty dismissive. I might try the spray with dark tinted varnish trick at some point. Someone on RMWeb did a full respray, which was really excellent, but a lot of a faff with the lining.
All good wishes,
John.
I too am disappointed with the colour. Would you need to tint the varnish or does it just need a satin coat? Like you I think I have read somewhere about that suggestion.
I shall wait to se if you pluck up the courage!
Regards Ray
I think you would have to tint the varnish a bit, say with some dark gray, although clear satin on its own might help a bit, in making the whole thing look less "plasticy".
I've seen one example somewhere on RMweb in which all the green was resprayed, and it looked terrific, but a lot of work to then do the lining again.
Whatever I do (probably nothing), it won't be for a while. I must say that otherwise I do like the model a lot, the detail is good and fortunately it seems intact on my specimen.
Best wishes,
John.
I am having a GWR season so perhaps it will have to wait. I need to remember how to put pen to paper again.
Cheers Ray