No.113 Light relief? - Fettling Bachmann’s Waterless Gas Holder.
It is 1987 and I have been given six months holiday on full
pay in the West Midlands. As part of my education I had a trip up the Waterless
Gas Holder at Swan Village Sandwell.
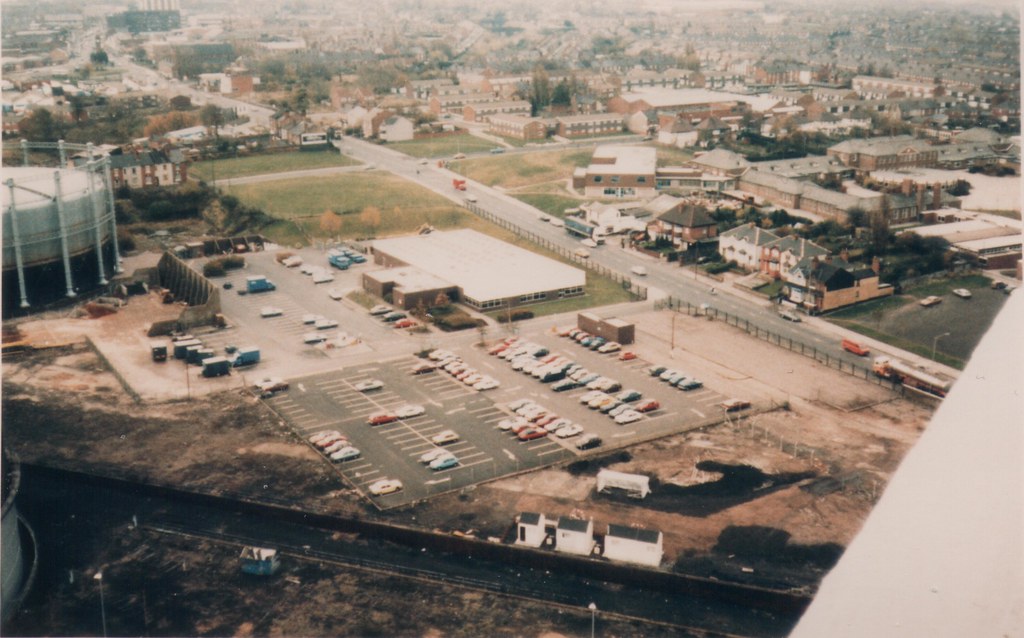
1987 View from the waterless gas holder Swan Village
Sandwell – scan of a copy of a copy
The view was amazing. I was even allowed a peek inside. The
more common column or spirally guided holders rise or fall to accommodate
changes in the volume of gas stored. Volume change in a waterless gas holder is
achieved using an internal piston designed much like an umbrella. Gas is
introduced or withdrawn using a ‘blower’. There is a circular reservoir of tar
or bitumen around the circumference of the ‘umbrella’ to provide the necessary
gas tight seal. Tell tale black streaks of tar running down the outside of such
a holder highlighted leaky joints or corrosion of the outer skin.

Bachmann low relief model of a Waterless gas Holder
44-211
Bachmann introduced their low relief model of a waterless
gas holder in 2012. I would have liked to buy the model at the time but was
discouraged by the high price. Now in 2015 some of the major retailers appear
to have been discounting ‘old stock’. It was time to buy.
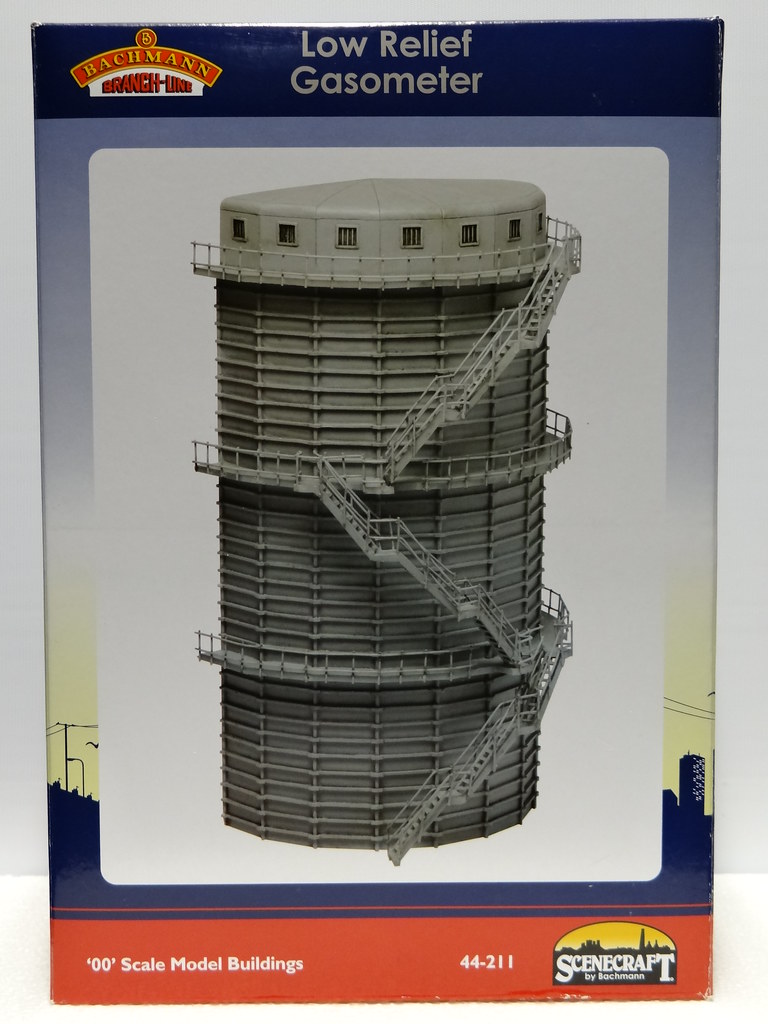
Bachmann low relief model of a Waterless gas Holder
44-211
Living remote from model shops means that purchases are
frequently made without inspection of the actual product. A detailed study of
picture on the front of the Bachmann packaging I would say is quite revealing
and may well have influenced my decision to proceed with a purchase!
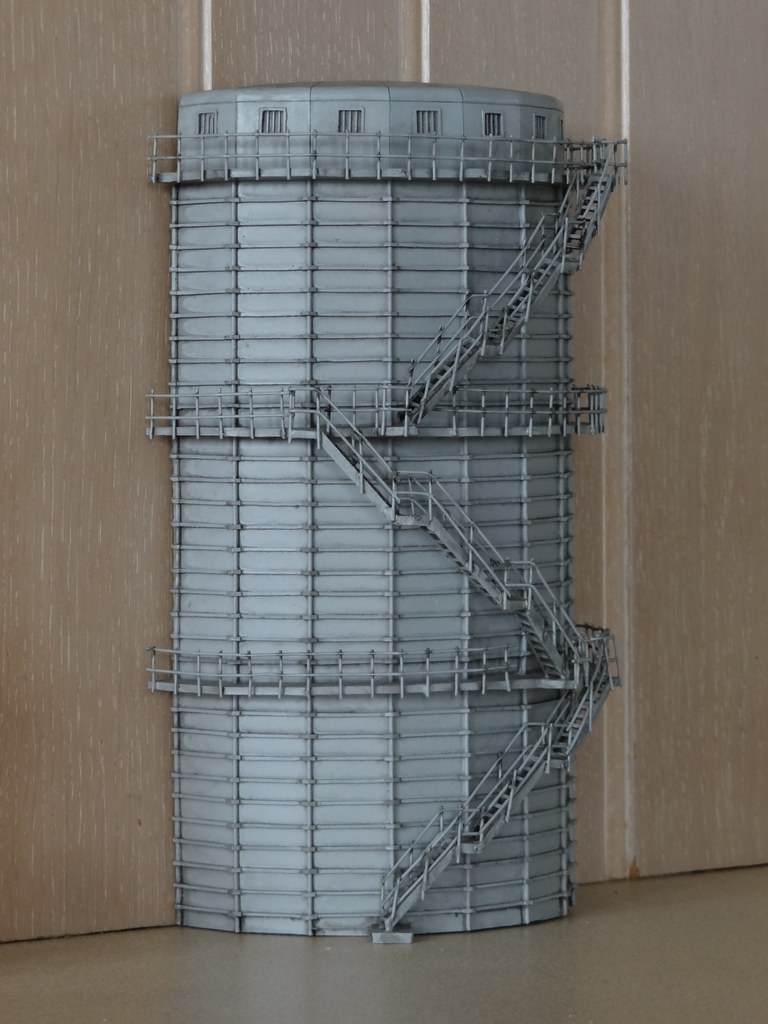
Waterless gas holder shortly after removal from
packaging
My model was extremely well packaged and had survived
handling by Royal Mail without damage – a tribute to the retailer. However all
was not well. A lot of the ladders and railings were in my opinon at jaunty
angles. Viewed at a distance as part of a back scene this is possibly
acceptable. I had itchy fingers and within minutes bits of railings had started
to come unattached.
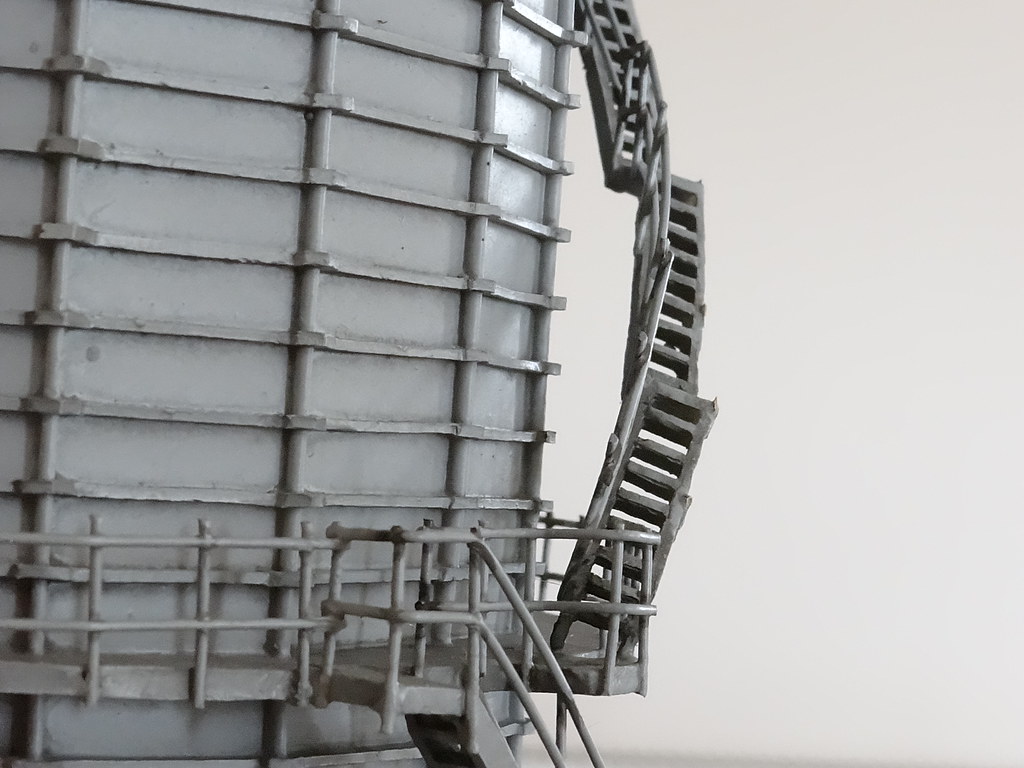
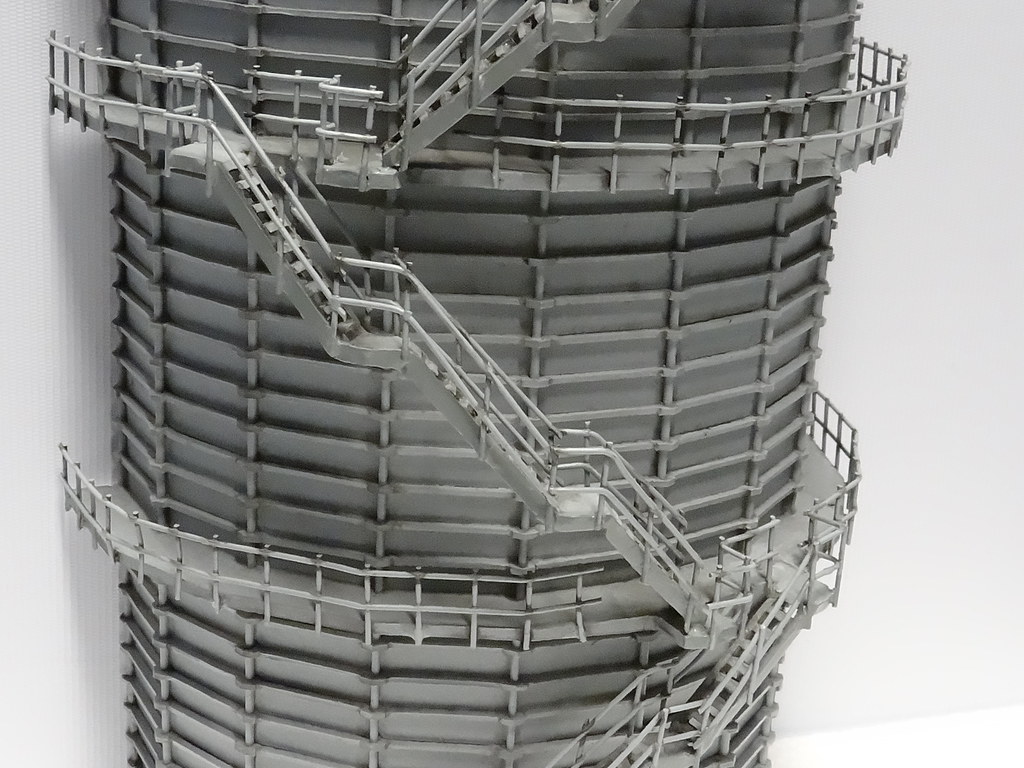
Stairs at a jaunty angle
It was a challenge – I would improve the appearance. Previously I have successfully remediated ‘resin’ models by immersing in hot water.
I applied the same technique to the gas holder. Initially I concentrated on the
top flight of stairs which was the most visible and the most highly distorted.
Gentle manipulation in hot water soon dislodged the railings allowing the resin
stairs to be massaged into a better shape. Bachmann would appear to have
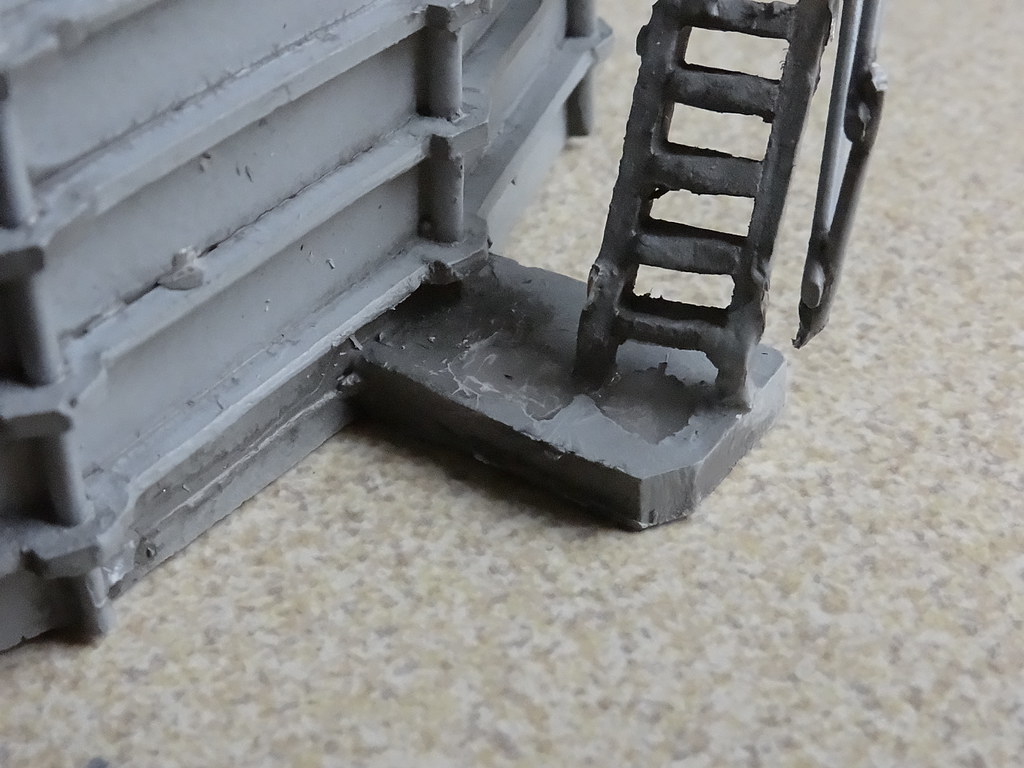
assembled complete flights of stairs separate from the model. The finished
flights of stairs then look to have been attached to a purpose made fixing at
the top and with blobs of glue applied at the bottom - wherever the legs
happened to land.
Over the last week I have developed a lot of sympathy for the
‘little ladies’ in China who had the task of assembling these already part
assembled items. It must have been very frustrating for them. Even without
knowing about a ‘waterless gas holder’ it must have been very obvious that the
distorted flights of stairs were not level and railings were not vertical.
Slight adjustment sideways
Reluctantly, as well as bending and massaging the stairs, I
also had to separate the legs of the stairs from the landing. This was achieved
with a very sharp craft knife. Now with the stairs freed at the base it was
possible to develop a far better alignment. They were then reattached using
Super Glue – in my case of the Wilkinson’s variety.
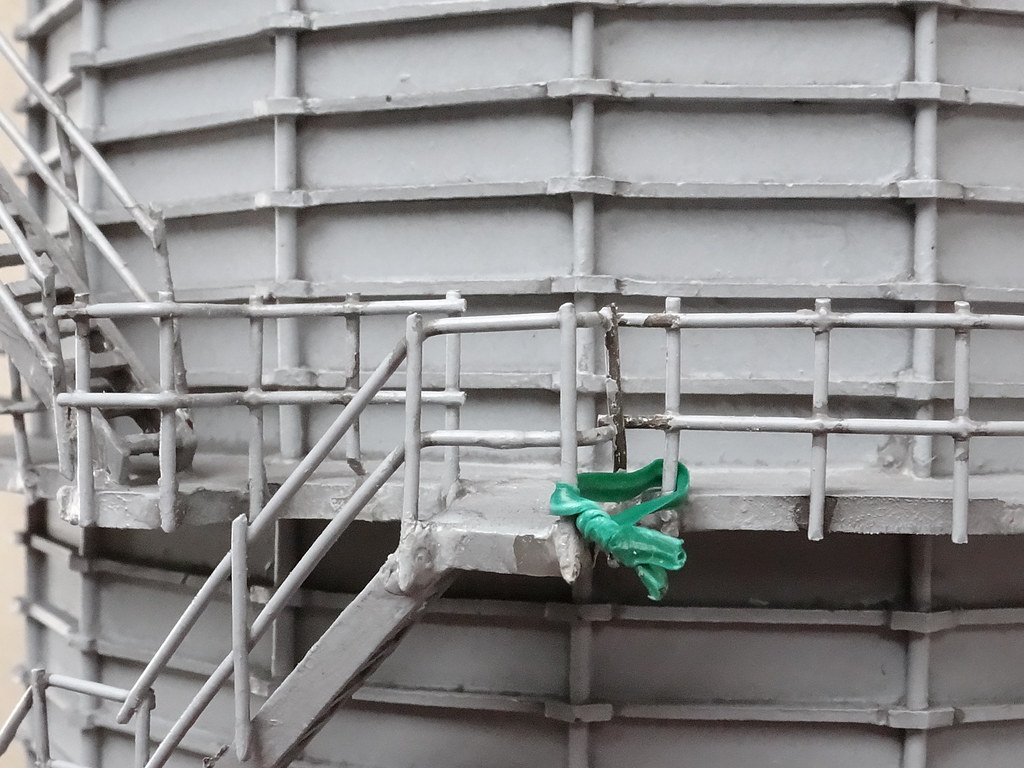
Another pair of hands
I could not readily separate all the handrails from the
stair cases and in these instances I used ‘plastic ties’ to hold the realigned
rails in place whilst the glue dried. My Super Glue seemed to soften the
Bachmann resin moulding. This can be helpful where for example railing need to
be slightly adjusted. Holes left from first removing the railings can be filled
with softened material displaced from the new fixing position.
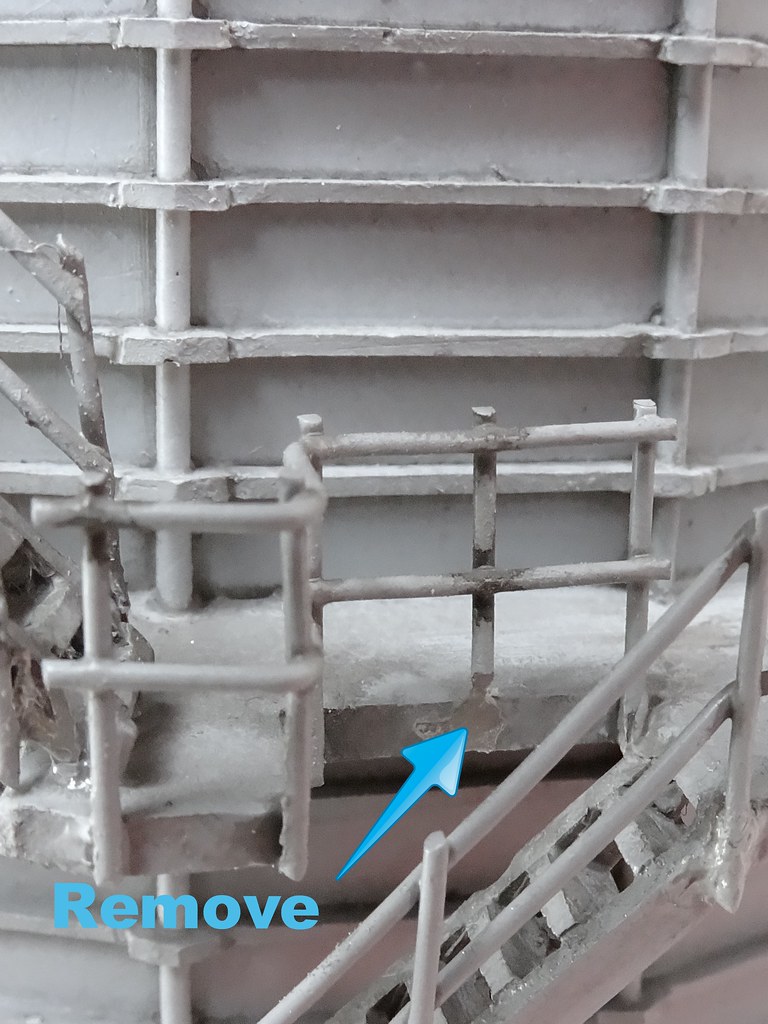
Some bits of railing had to be removed
On my model there was no way one set of stair rails would
fit without cutting away some of the adjacent landing handrails. This was
achieved using a Dremel type drill fitted with a miniature grinding tool.
When everything was glued back in place I used the same
arrangement of Dremel and grinder to remove surplus adhesive and resin from
around all the fixings. Tidying up both my work and Bachmann's original efforts
made a huge improvement.
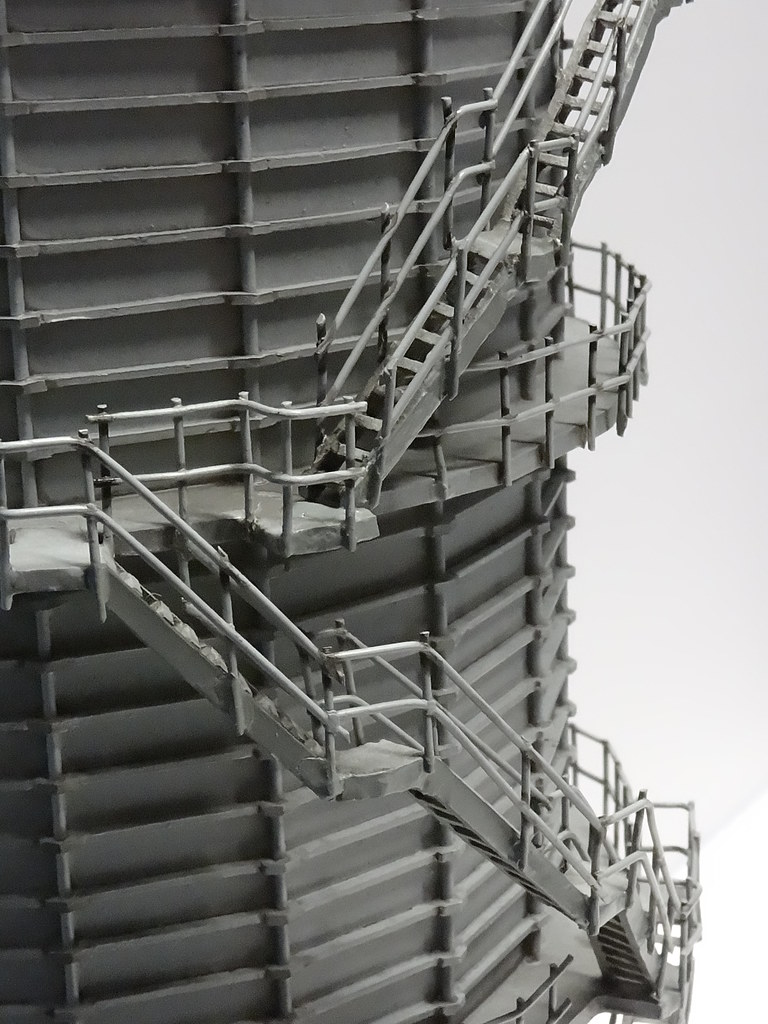
Looking good
Finally I made good the paintwork. I had an old tin of
Humbrol HR 111 ‘Stock Grey’ which I let down with some Humbrol gloss white. I
added a dab of metallic silver and some white spirit to dull the mix. The
result is not perfect but I would say more than acceptable. Certainly the model
is good entertainment value and has kept me occupied for hours.
Finally some views of the remediated model.
Looking good
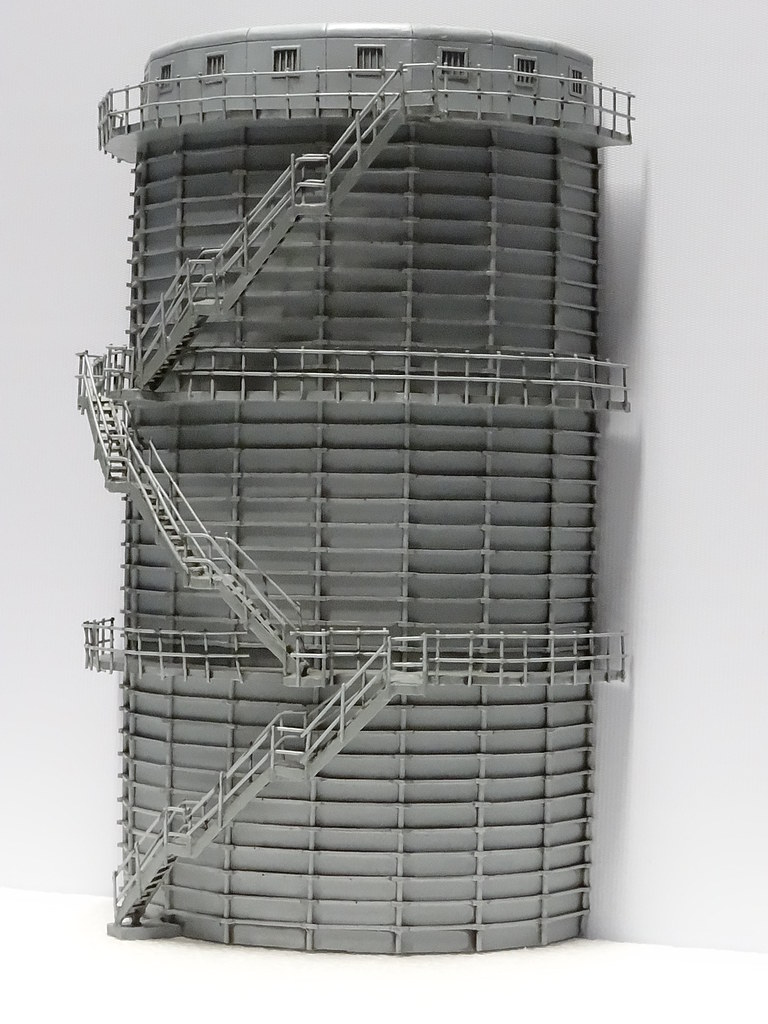
Fettled
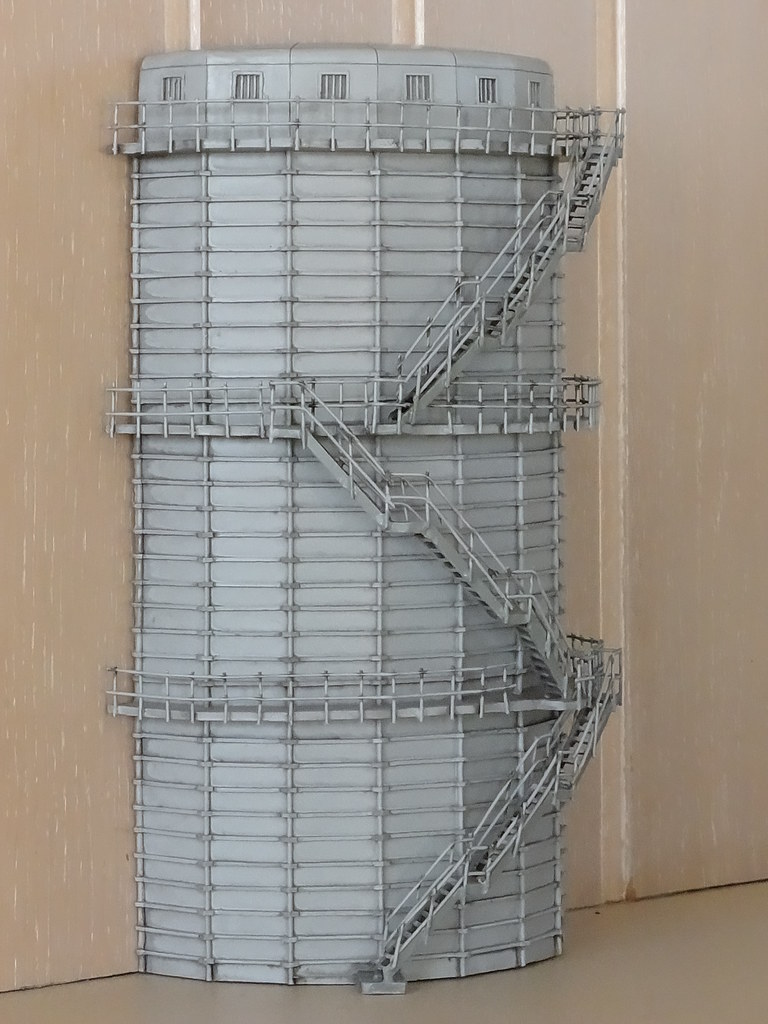
Back
to the beginning - but better!


Comments