Bachmann are gearing up to launch their new Blue
Pullman. Here I am just getting to grips
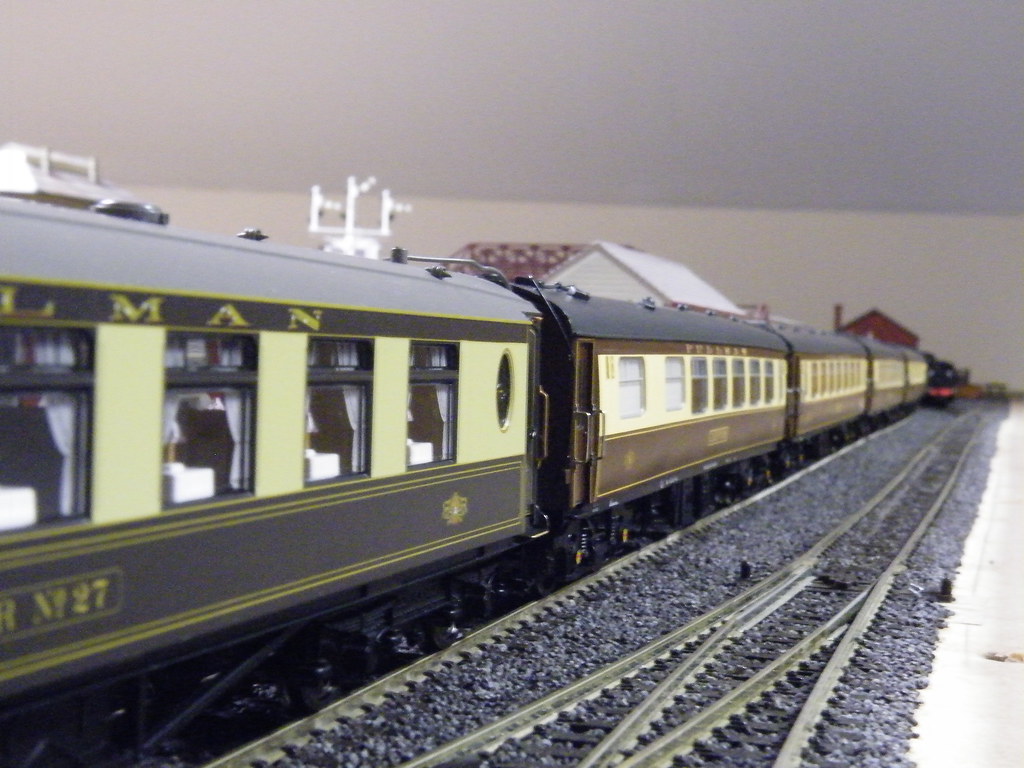
with my version of the Tees Tyne Pullman:
For some time I have been collecting together a rake of
Bachmann Mk1 saloons and have also acquired two Hornby Brake Cars. Stringing the cars out for the first time
raised a couple of issues. Firstly the
ride heights of the Bachmann saloons were not all the same and then there was
the perennial problem of the ‘gap’ between the coaches.
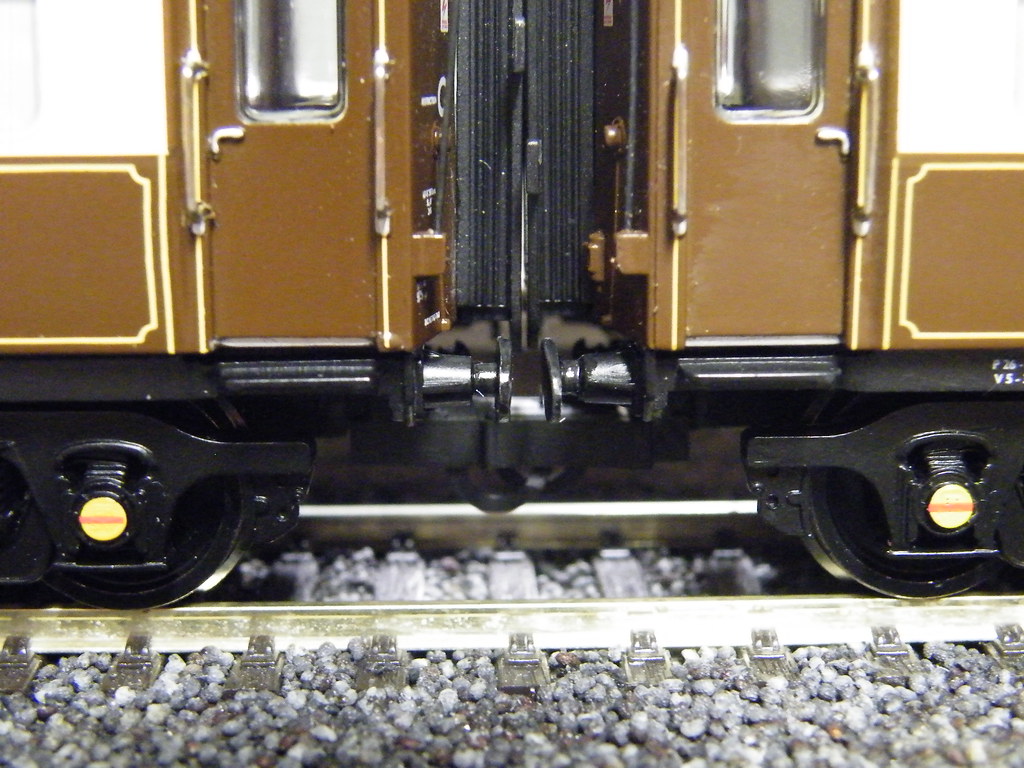
If you have 30 inch or more curves, the gap between the
Bachmann Mk1s can be sorted by substituting Hornby R8220 couplings.
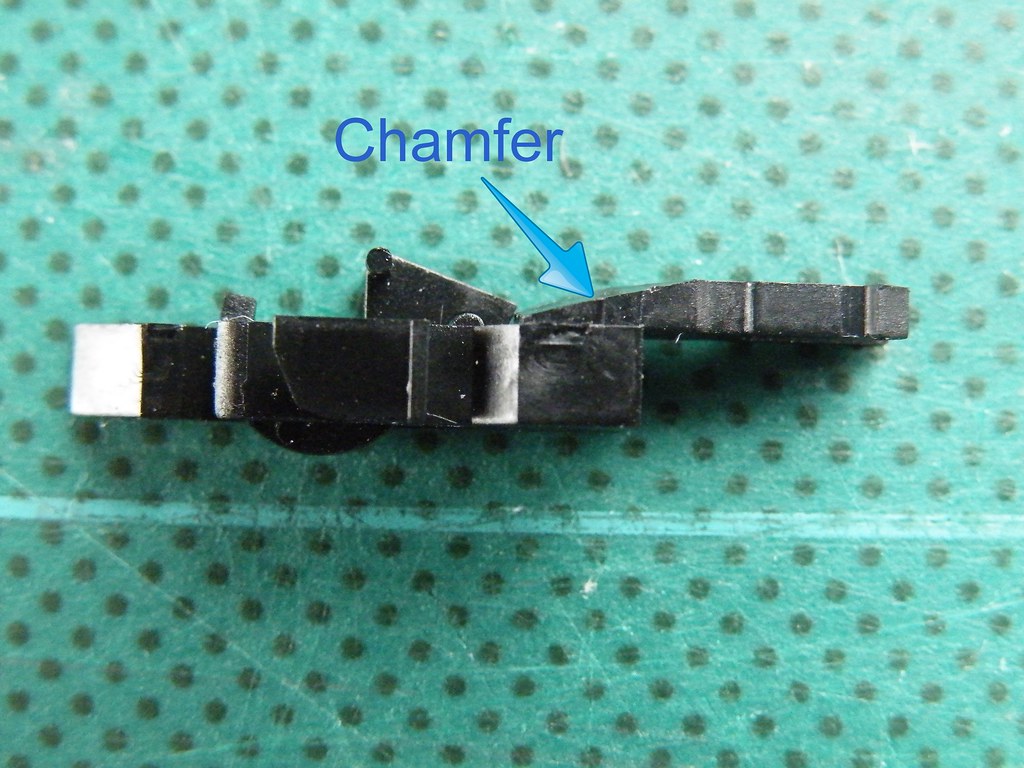
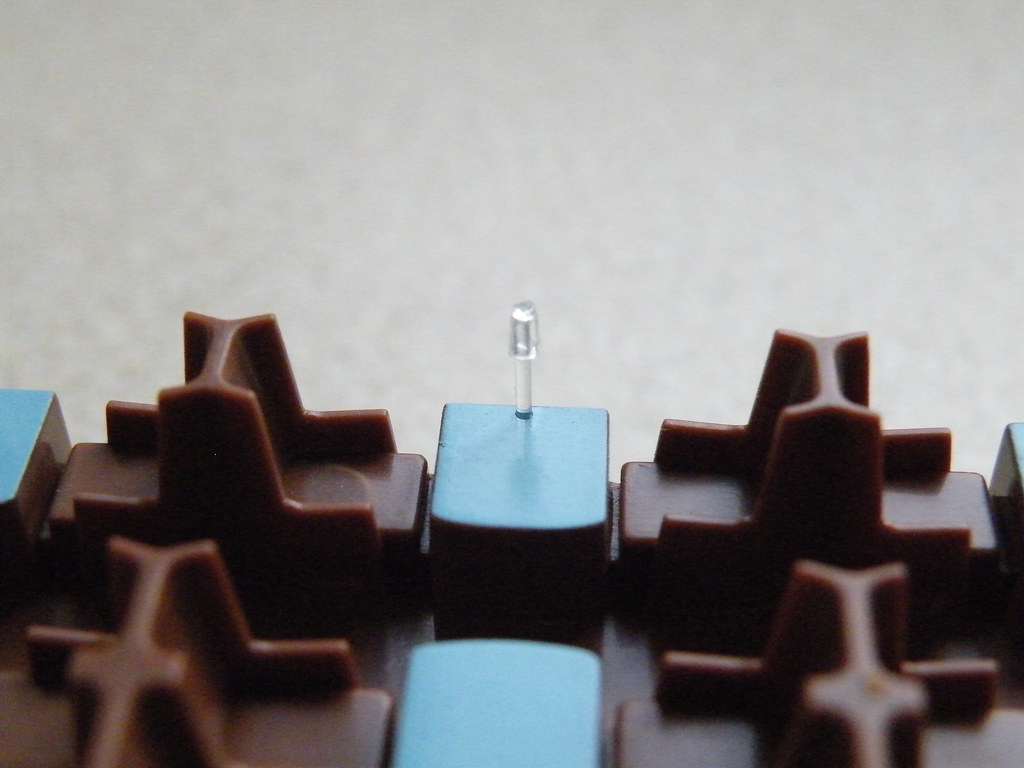
For use with Bachmann Mk1s the Hornby R8220 couplings need a
slight modification, the leading edge of the connector needs to be chamfered as
shown above to ensure that the coupling does not get trapped under the coach
end.
Hornby super detail Pullman Coaches are supplied with
alternative R8220 couplings which can be used without modification. However the coupling pockets on the Hornby
and Bachmann coaches are at different heights and if the track is at all uneven
there will be a tendency to auto uncouple where least expected – very
annoying. Also when the R8220 couplings
are used on the Hornby stock the resulting gap between coaches is to my mind
still too large. Recommendations elsewhere
on RMweb are to substitute Roco 40720 couplings which are apparently shorter
and the correct height when used with a Hornby coach for coupling with a
Bachmann Mk1. I think the Roco 40720
couplings are expensive in small quantities and are not as readily available as
the Hornby product.

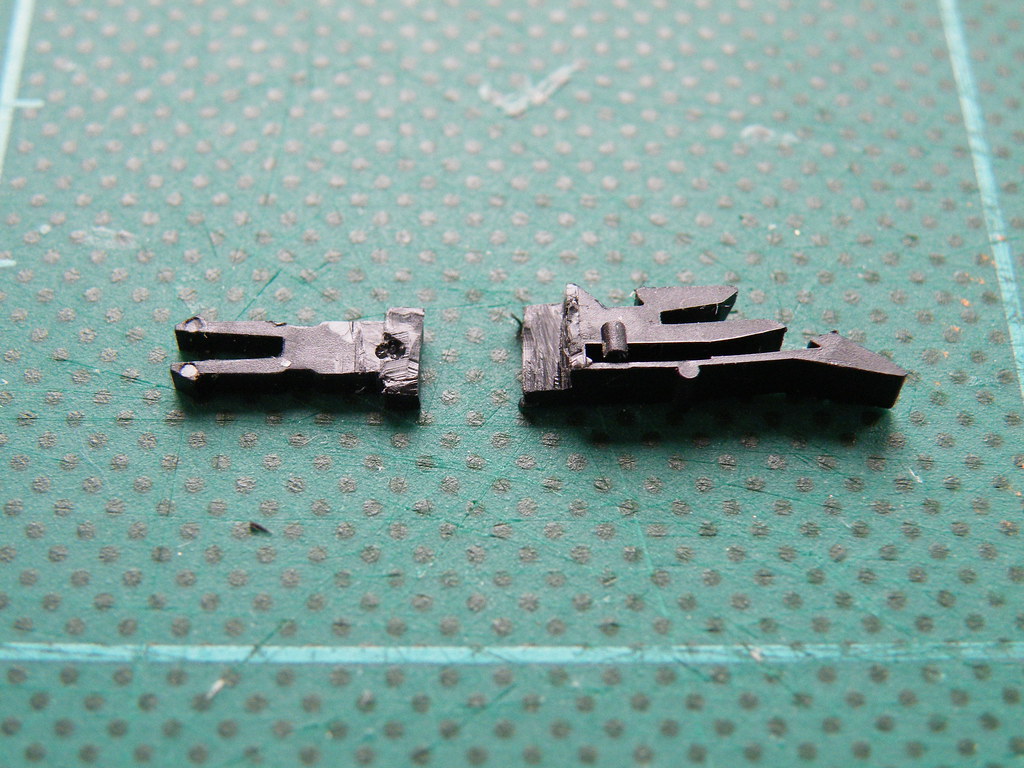
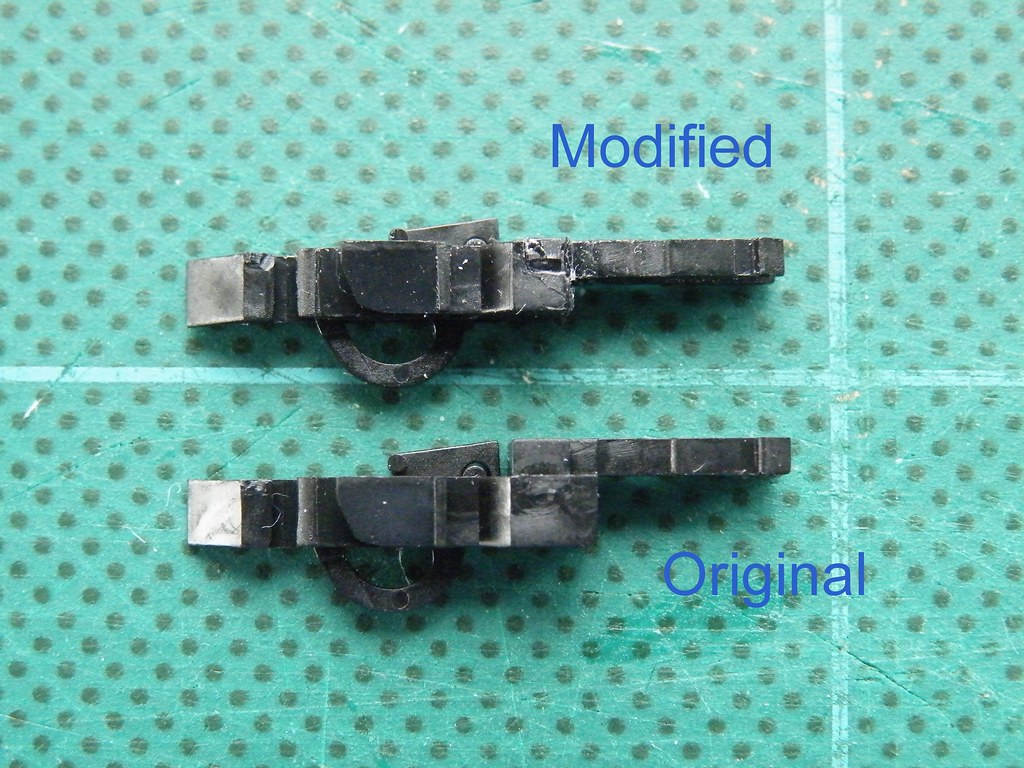
My solution was to butcher the Hornby R8220 coupling. I first pared away at the back of the
coupling so that it could be pushed further into the pocket to allow closer
coupling. I then separated the top of
the coupling and repositioned it at a lower level, gluing it into a step cut
into the back of the coupling block. I
used an instant glue. So far so good,
however there is also room to drill and pin using a 0.5mm twist bit.
With regard to the differing ride heights of the Bachmann
saloons there seemed to me to be two problems.
On some coaches the wiring / light guides needed to be repositioned to
allow the seating unit to fully engage with the chassis. This was achieved by
removing the four screws holding the brown plastic seating unit to the black
chassis and then gently easing the light guides into a better position using a
fine screw driver.
On other coaches the body was cambered up to the middle with
the result that the chassis and coach ends were being forced down. The black coach chassis is screwed to the
brown seating unit to form a very rigid structure which is then fixed to the
coach body using four pairs of clips equally spaced along each side of the
coach.
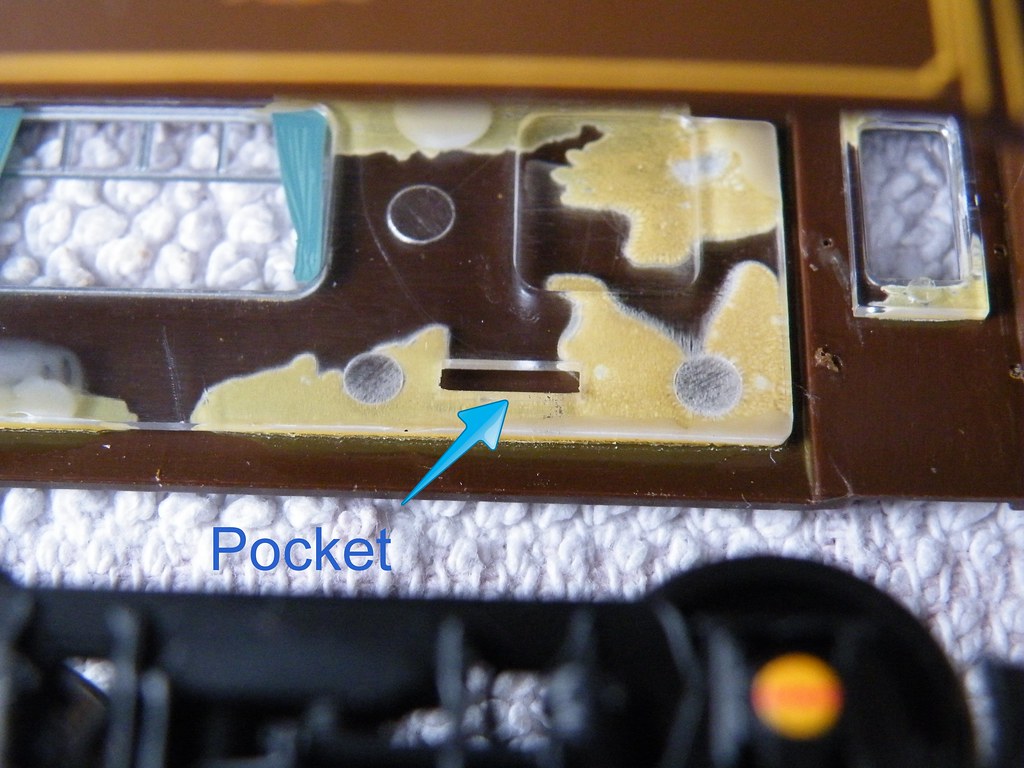
The chassis clips engage with pockets in the glazing. To encourage the ends of each coach to have
the same ride height I shaved some plastic from the bottom of the two middle
glazing pockets which should then allow the middle of the coach to bow upwards
without affecting the chassis.
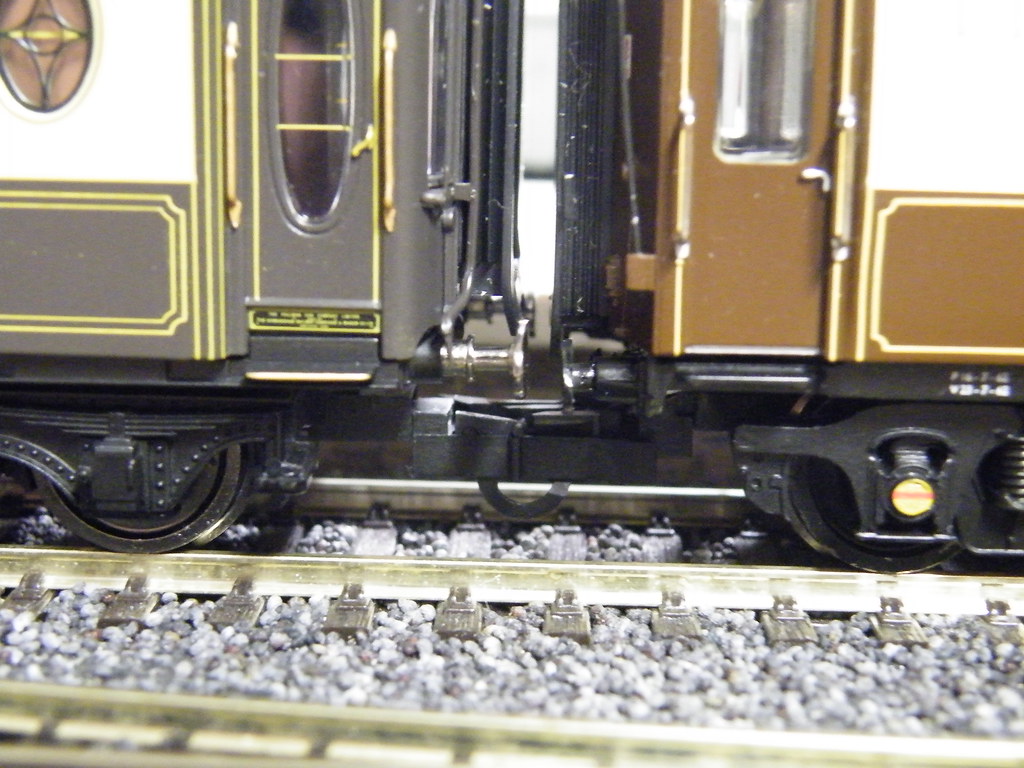
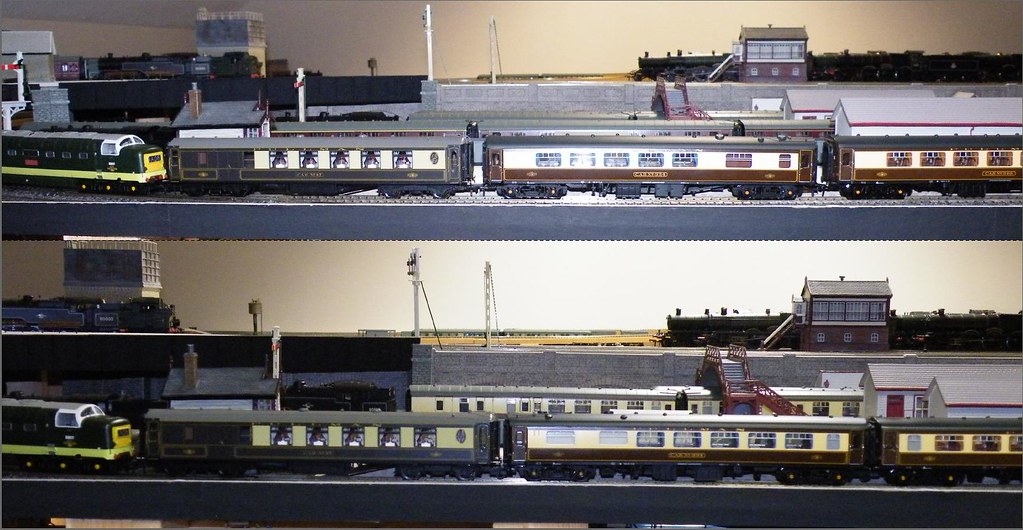
The view above shows what can be achieved for minimal cost
using readily available components.
A word of warning – the Bachmann lamp shades appear only to
be push fit onto the light guides. The
shades are incredibly small and can be very difficult to find if dislodged.


Comments