No.48 Bachmann Blue Pullman –did you get a discount and other questions
Apparently I recorded my intention to purchase the Bachmann Blue Pullman in August 2010. Well it finally arrived in November 2012 and has provided hours and hours of nail biting entertainment.
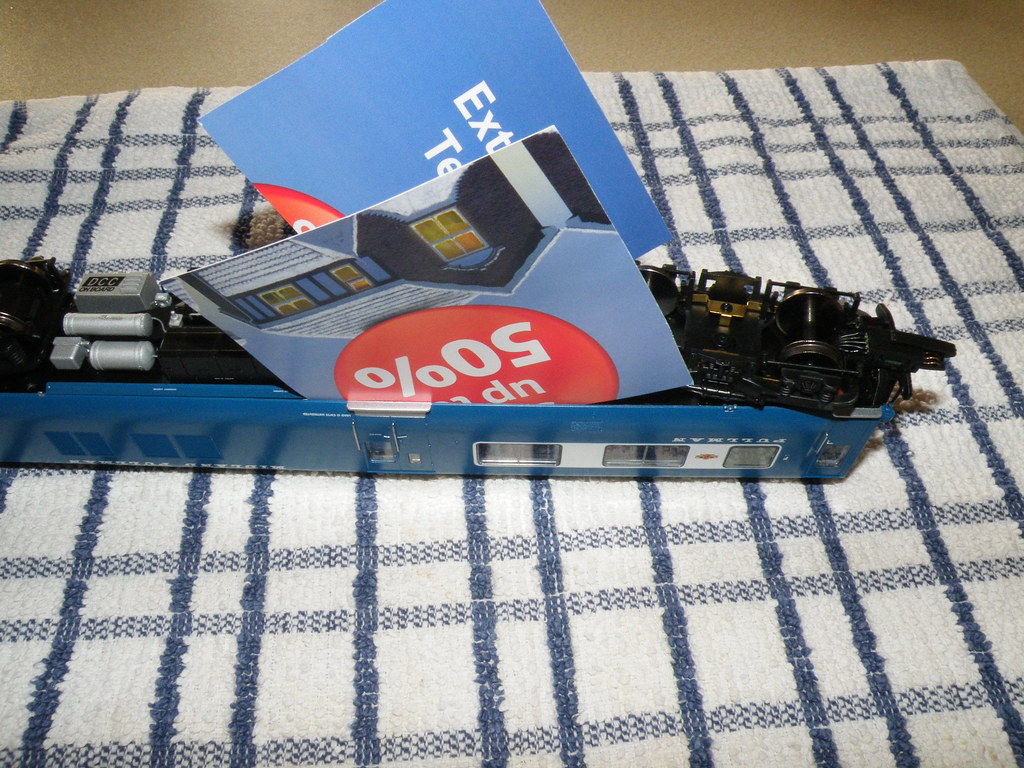
Get 50% off (Insurance)
My layout is DC and I thought that perhaps I would have to
go inside and remove the installed DC Chips.
I did not expect that I would have to do it so soon and to have to
dismantle and correct so many other bits before enjoying its running.
I cannot imagine that I am going to be alone with these
matters - hence this Blog.
Initially one of my power cars had an intermittent
fault. It would stop and start. All the lights worked. Sometimes if I gave it shake it would go
again - then it would stop. I am
indebted to
Rob
who appears to have had the same problem and who pointed out that as well as
the ‘four screws’ there are two hidden tabs under the Guards doors that need to
be released to allow the body shell to be removed.
Stiff paper or very thin card fed in between the body shell
and the metal underframe makes removal of the body shell almost easy. First removing the rear bogie is not
absolutely necessary but it does make life easier. It is then simply a case of lifting the
underframe out from the corridor end of the coach.
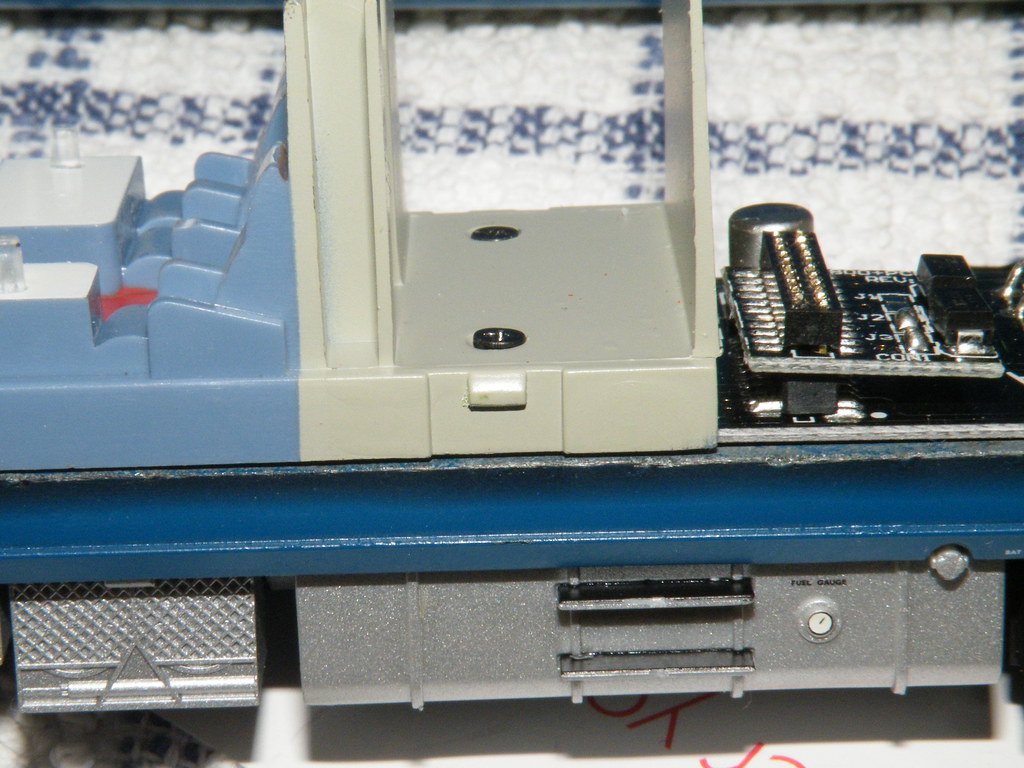
Notes provided by Bachmann tell you which way up to fit the
blanking plate - see the picture above.
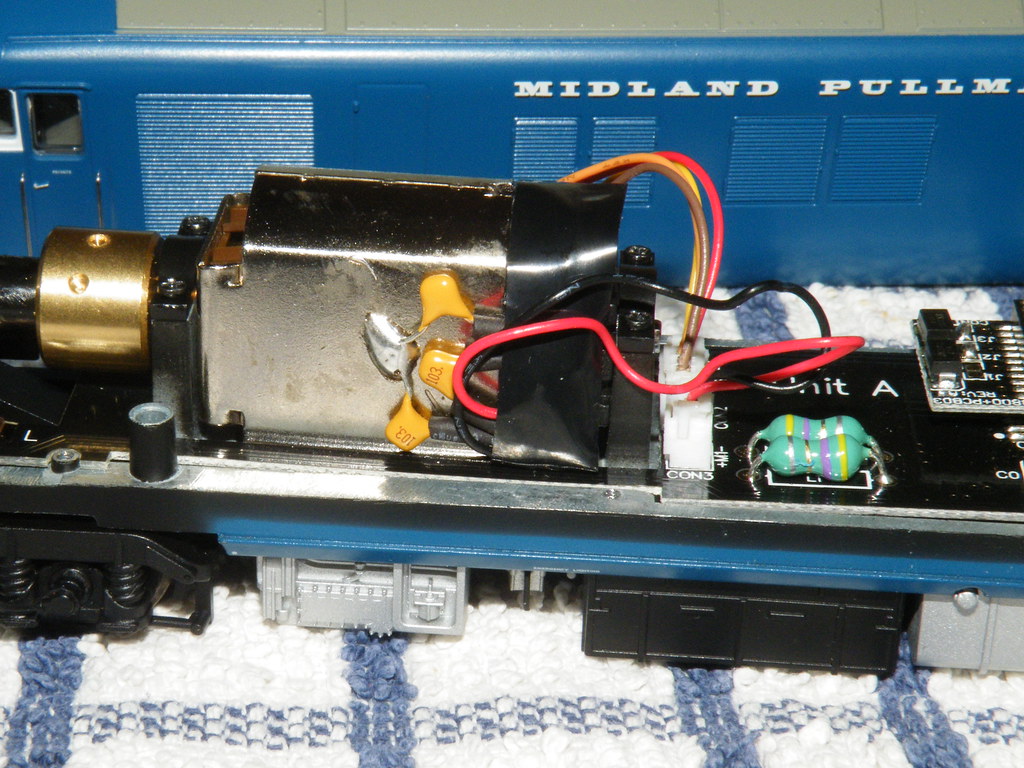
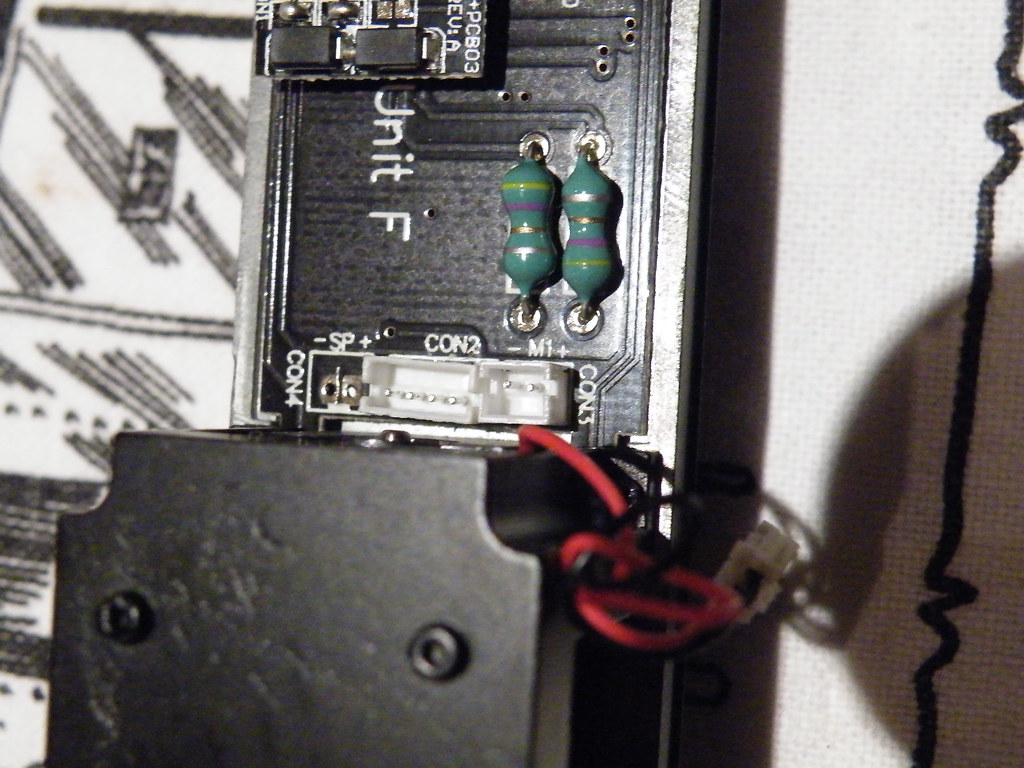
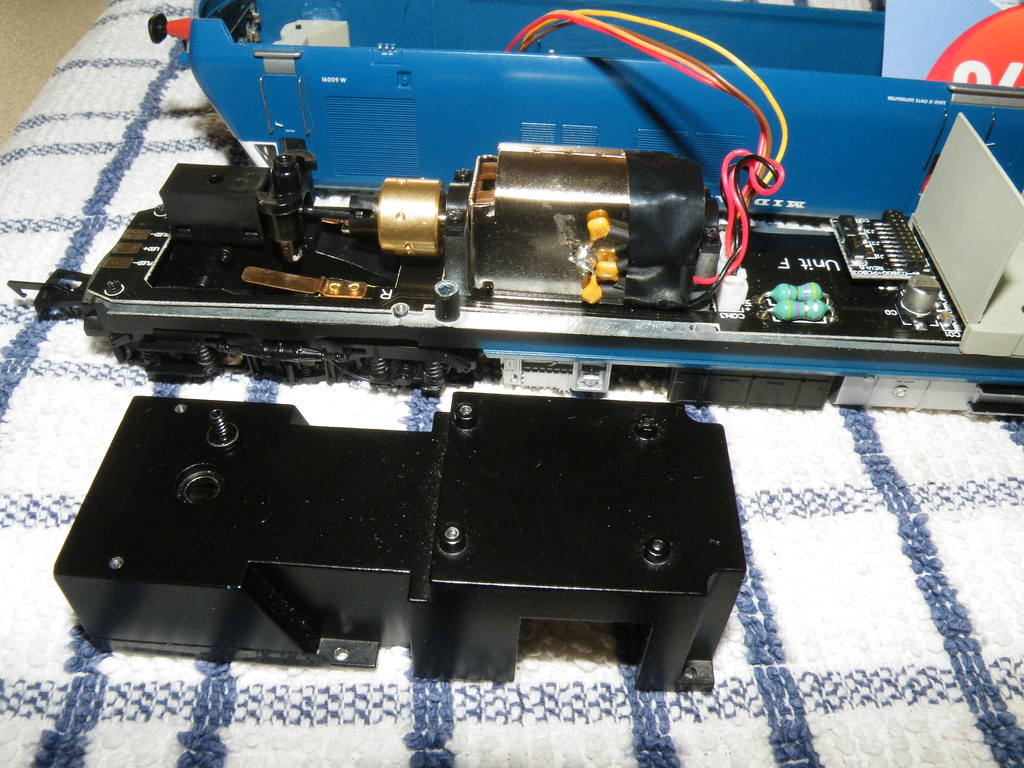
Power Car Unit A
As part of the process to solve the problem I had swapped
the motors between the power cars. I was
nearly confused by the Bachmann plug and sockets which are reversed on Power
Car F to enable it to run backwards.
This appears to mean that one of the plugs is used with black for
positive and red for negative?
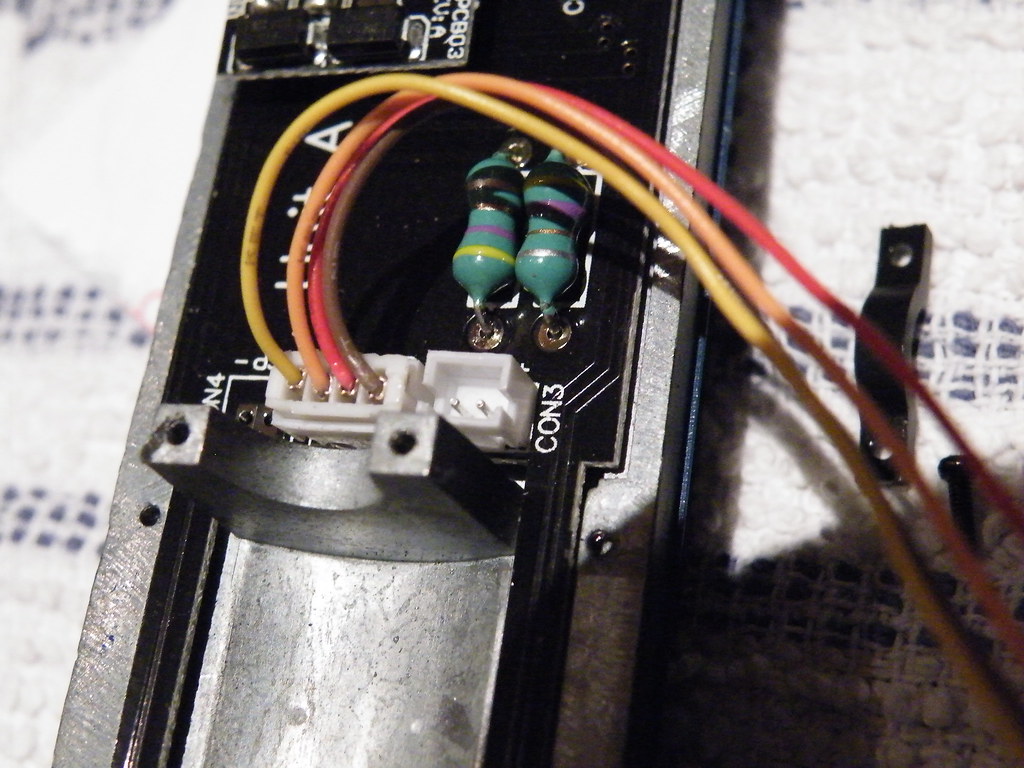
Power Car Unit F
Back on track now and how does it run? Well – disappointingly – every now and then
one or other of the driving units would de-rail on the latest Peco large radius
points. In common with many other
Members the ‘back to back’ distances of the driving wheels on my units were all
too wide. Inspired by RobertCarroll I went back inside the units and removed the drive bogies.
There are four screws on the metal housing above the bogie
and there is the single screw to release the ‘tower’ itself.
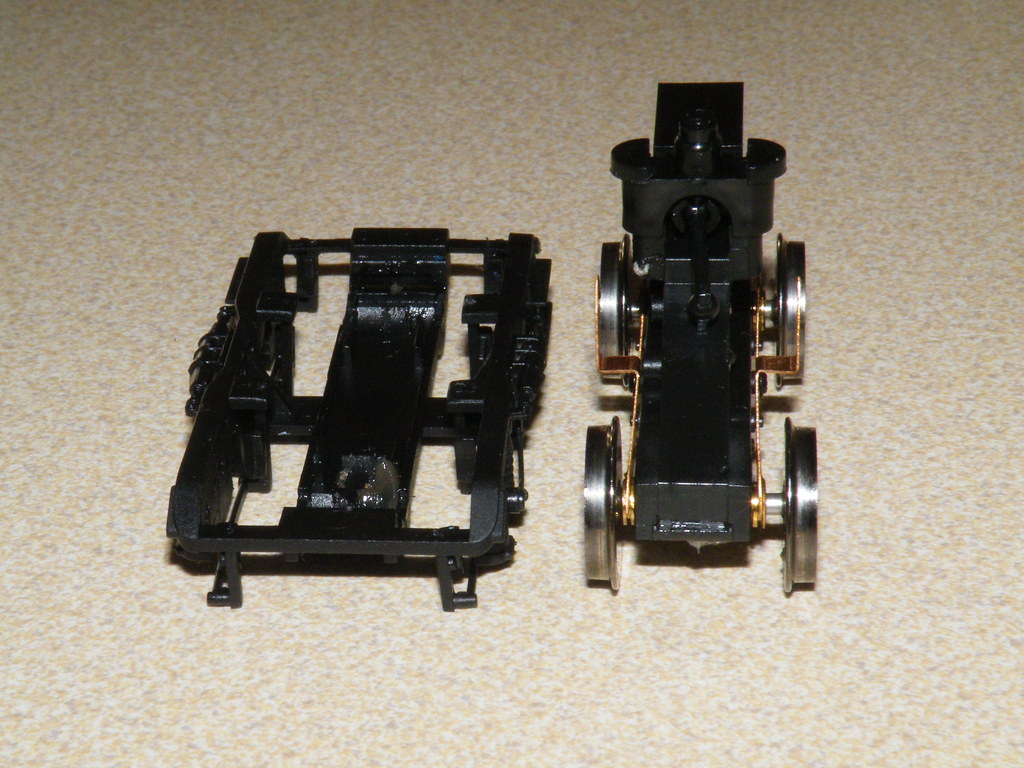
A little knowledge can be dangerous and I had guessed that
the wheels would squeeze up using the same approach that as I have used many
times before:
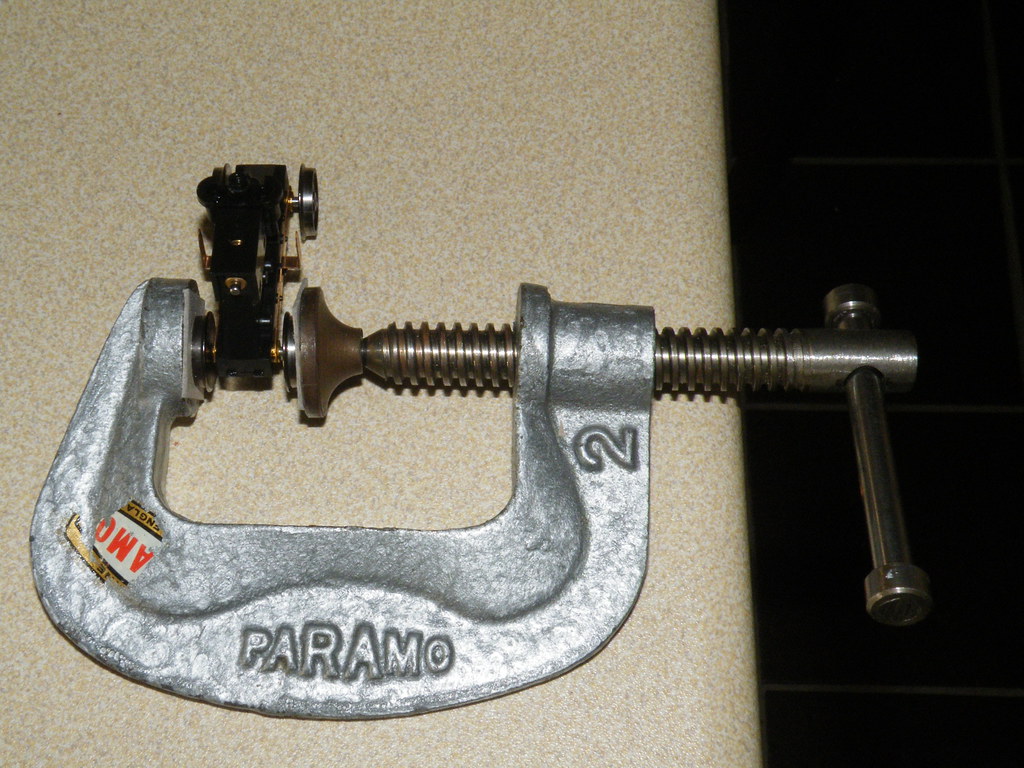
Note the cardboard packing
This is where a direct line to Bachmann might have been
useful. As already mentioned by other
Members (apologies because I cannot exactly remember who) the wheels are a
metal to metal fit on each stub axle and the insulation is provided by the
nylon gear in the centre. In my case
squeezing the wheels together only achieved a limited decrease in wheel spacing
and I was left wondering whether there was too much nylon moulding (or glue)
inside the centre portion of gear preventing the axles being pressed
sufficiently closely together.
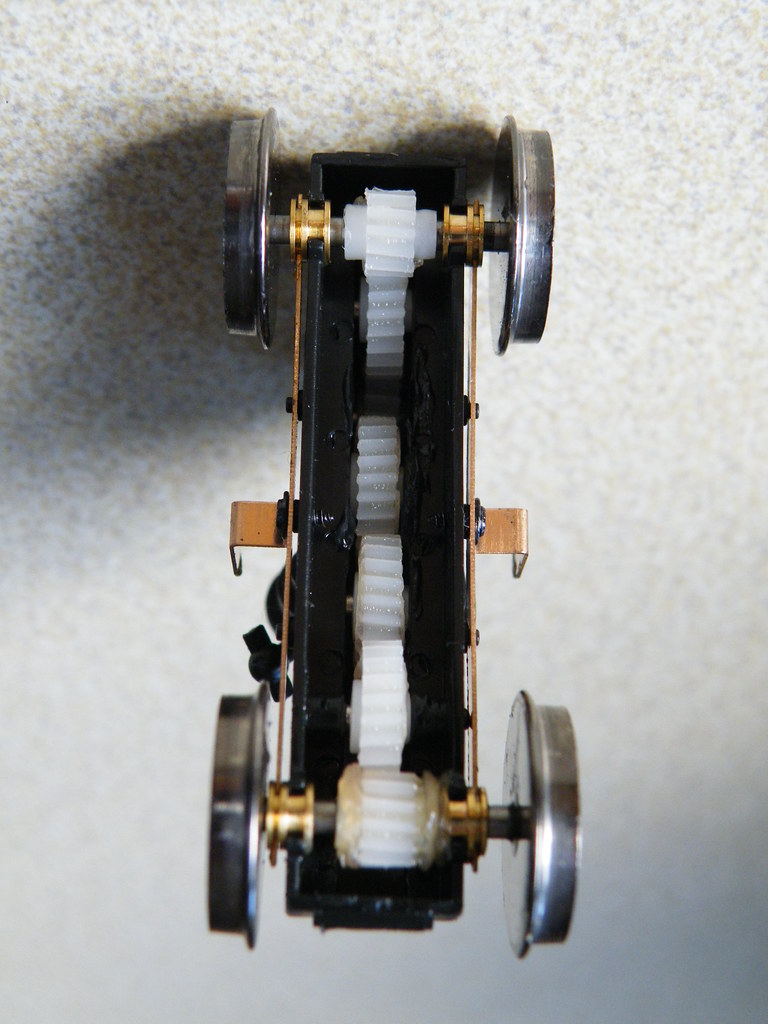
Close up of the Nylon gear assembly
I guess it will be down to Bachmann to detail how the axles
are locked into the nylon and to come up with a more foolproof system.
Out of the box all the drive wheels on my two units measured
15.5mm top of flange to top of flange.
Most other Bachmann wheels measure 14.5mm. After gently squeezing with my ‘G’ clamp I
achieved just under 15.0mm – this seems to be acceptable on my layout with the
latest Peco Code 100 points.
Good, now I can get back to playing trains.


Comments